Tiger Skin Peppers (虎皮青椒 Hu Pi Qing Jiao)
January 9, 2021 Print
Tiger skin peppers is a popular household dish in China. It’s super easy to make. Because of its peppery nature, it goes well with rice, noodles, and porridge. You can also pair it with meaty dishes such as Sweet and Sour Spareribs or Soy Glazed Chicken Wings. And depending on the type of peppers used, it can range from mild to extremely spicy. So make sure to always remove the seeds if you are not sure how spicy your peppers are.
Funny story, I once made this dish using Korean green chili peppers. Those peppers are usually mild, but some can be very spicy. My husband was quite unlucky and got to eat a super spicy one. Let’s just say he immediately jumped up and went to get a cup of icy water.
Why is this dish called “tiger skin” peppers? Because the peppers are cooked until the skin is partially blackened, which look like the pattern of a tiger’s skin.
You can practically pick any type of green chili pepper for this dish. Ideally, you want to pick a kind that is moderate and has thin skin. After the pepper skin become blackened and wrinkled, the sauce is much more easily absorbed into the softened pepper, making the pepper flesh super flavorful.
Gluten Free, Vegan
Preparation Time: 15 minutes
Total Time: 40 minutes
Servings: 4-6 people
Ingredients:
- 1 lb (~450g) green chili peppers1
- 1 garlic bulb
- 2 tablespoons balsamic vinegar
- 2 teaspoons light soy sauce2
- 1/4 teaspoon kosher salt
- 1 tablespoon vegetable oil

Preparation:
- Wash and drain the green chili peppers. Remove the stems and the seeds. Cut the peppers into appropriate size pieces if they are particularly large.


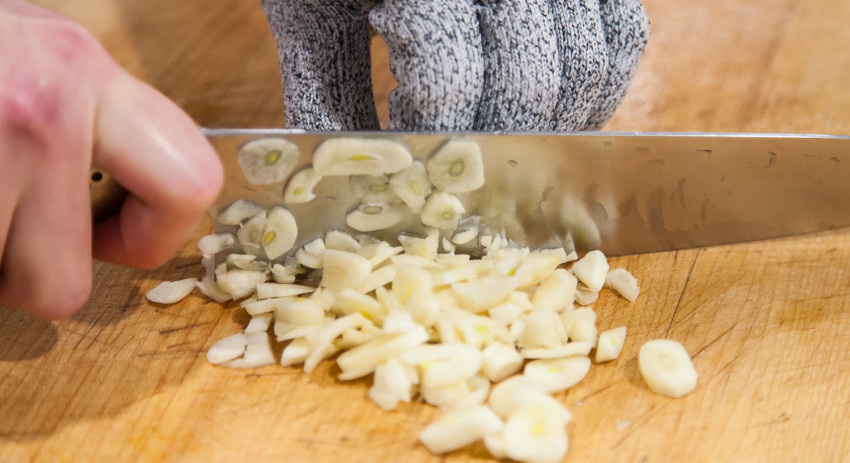
- Peel and mince the garlic cloves. Set aside.


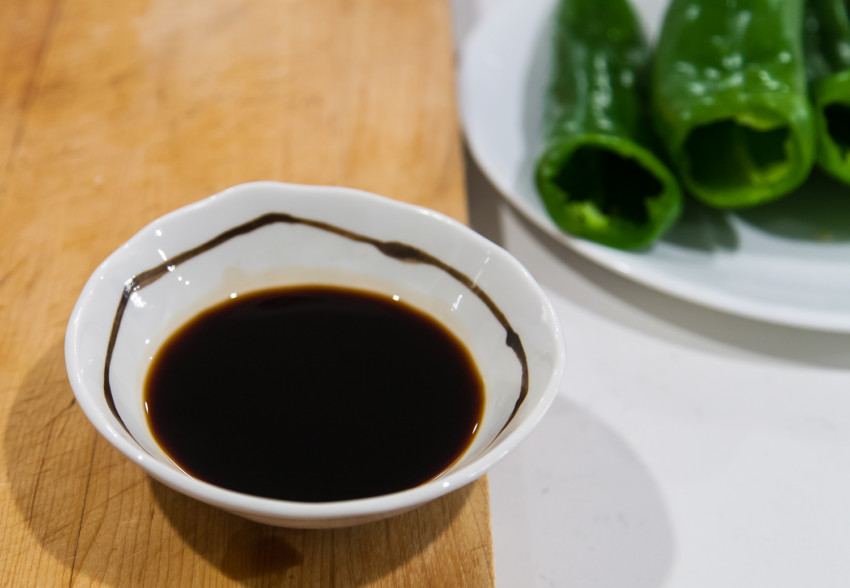
- In a small bowl, add the 2 tablespoons of balsamic vinegar, 2 teaspoons of light soy sauce, and 1/4 teaspoon of kosher salt, mixing well.

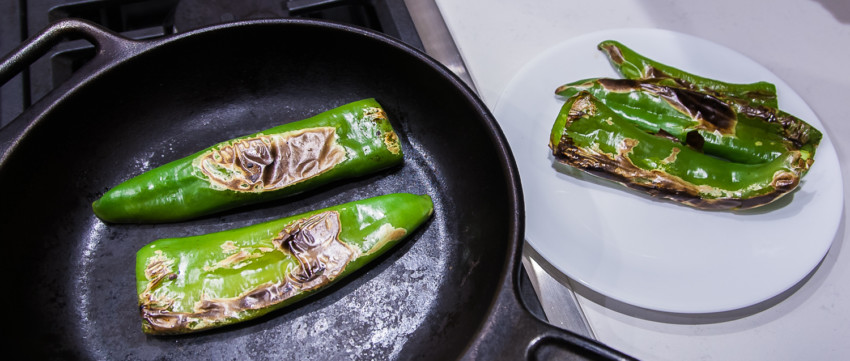
- Heat a large skillet under medium heat. When the skillet is getting warm, add the green chili peppers (no oil at this time). Use a wooden spatula to flatten the peppers a bit. Turn the peppers occasionally to make sure both sides are cooked.


- When all the peppers are soft and parts of the pepper skins have become blackened, transfer them out to a plate. This can take anywhere from 10 to 15 minutes.


- Back in the same skillet, add the 1 tablespoon of vegetable oil and the minced garlic, stirring for a few seconds. Then pour in the prepared sauce from step 3, mixing well. After about 10 seconds of mixing, add the cooked peppers, tossing and stirring for about half a minute. When the peppers, garlic, and the sauce are evenly mixed, transfer everything to a plate. Enjoy while it’s hot.


Bon Appétit

Notes:
- Here, I used Anaheim peppers which are not ideal due to their relatively thicker skins. But because it’s the middle of the pandemic, I didn’t feel like going to another grocery store to shop for peppers.
- Use a gluten-free soy sauce or tamari if gluten sensitive.


