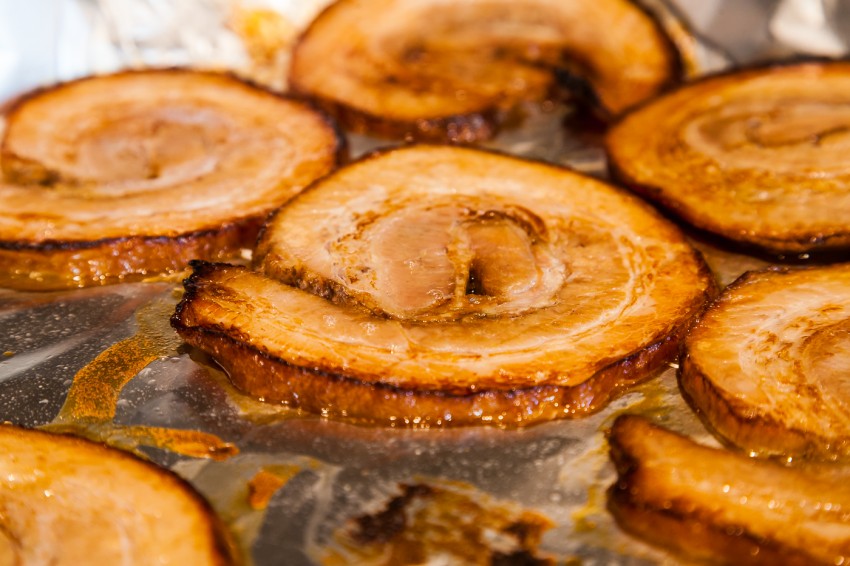
Japanese Chashu Pork
June 6, 2020 Print
I first had Japanese Chashu pork in a Japanese ramen shop years ago. In my opinion, the thin round shaped meat on top of my ramen bowl was the best part of the ramen. It was a tender, juicy, melt in your mouth experience. To me, it tasted slightly similar to Chinese style red braised pork belly 红烧肉 but was much less fatty. It reminded me of the Italian roast pork Porchetta, which is also super aromatic and flavorful.
It was later that I learned the name of the meat was Chashu. The Japanese name Chashu originally came from the Chinese barbecued pork, Char Siu or Chashao (叉烧) (literally translates to “fork roast”), but its flavor and preparation differs.
The Chinese Cha Siu can be found in the dining section of most Chinese supermarkets and Cantonese charcuterie shops (or Siu Mei 烧味). They look like vertical hanging strips of meat and are usually displayed next to roasted ducks or soy chickens. Different pork cuts—pork shoulder, pork loin, or pork belly—are often used. Preparing Chinese Cha Siu commonly involves first marinating the meat with a mixture of seasonings for a long time then cooking in an oven or on a stovetop while brushing the meat with additional sauce. The final product has a reddish appearance and it tastes smoky, tender, and sweet. I will share my Chinese Char Siu recipe in a later post. So hang tight.
The Japanese Chashu typically uses pork belly or pork shoulder as the main ingredients. The pork belly block is frequently rolled into a log, placed in a liquid mixed with a variety of condiments and seasonings, and then braised at a low temperature. Rolling the pork belly block into a log results in much more succulent meat due to less water lost during cooking. The final sliced Chashu meat is aromatic, smooth, and mouthwatering. The fatty part of the pork belly is completely integrated into the meat so that there is no greasy taste.
Once you make Chashu pork, you can use it with a variety of foods, such as noodles, rice, or bread. My husband loves having the Chashu pork ready and available. It can even make instant noodles gourmet and turn a plain croissant into a fancy sandwich.
Active Time: 40 min
Total Time: 3 hours
Tools: Kitchen twine, Dutch oven,5 and a glass lid with vent6
Ingredients:
- 2-3 pounds of boneless pork belly block (either skin-on or skinless)1
- ¼ teaspoon kosher salt or sea salt
- 2 tablespoons vegetable oil
- ~1 inch of ginger2
- 2-3 green onions (white part only)
- 4-6 garlic cloves
- 1 cup mirin
- 1 cup soy sauce
- 1 cup sake
- 2 tablespoons sugar
- 2-3 cups water
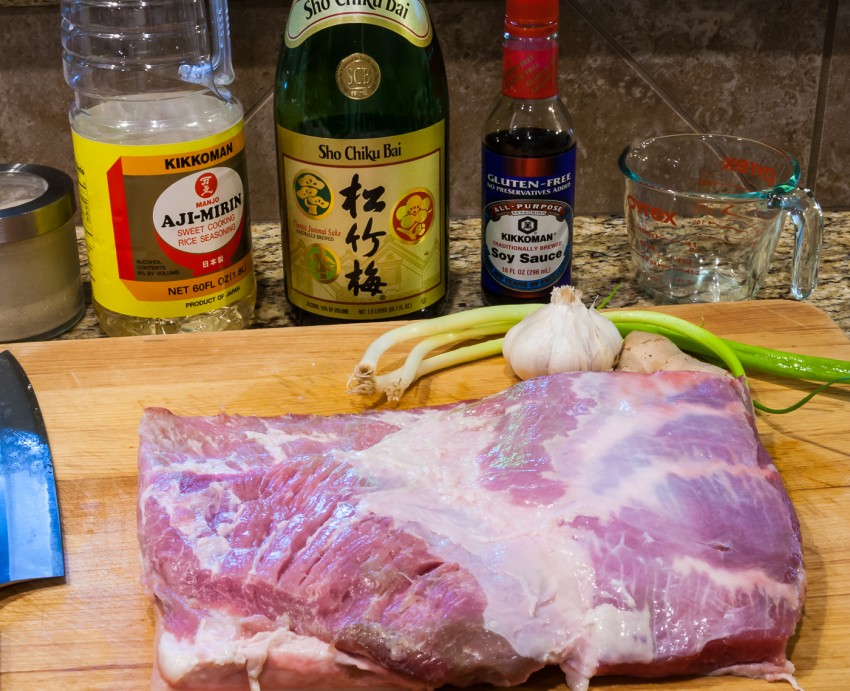
Preparation:
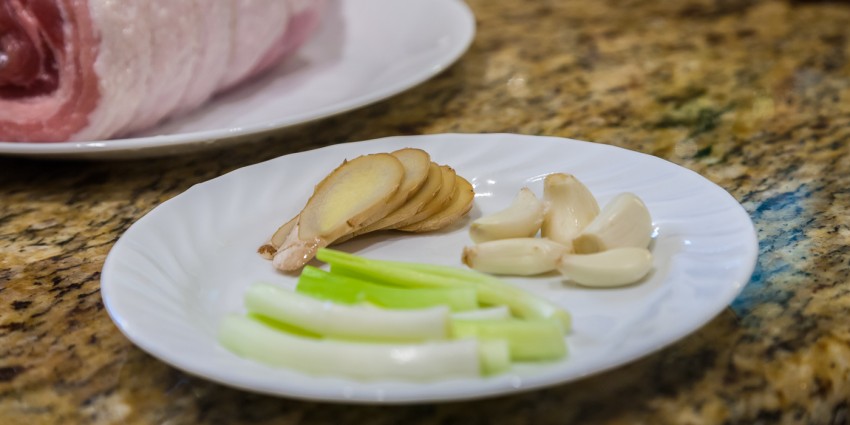
- Gather the ingredients. Cut the ginger into thin slices. Cut the white part of the green onions into halves or thirds. Peel the garlic cloves.
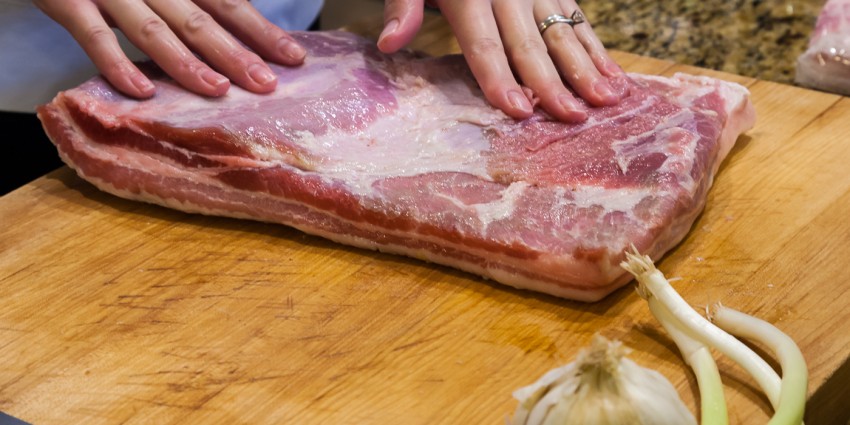
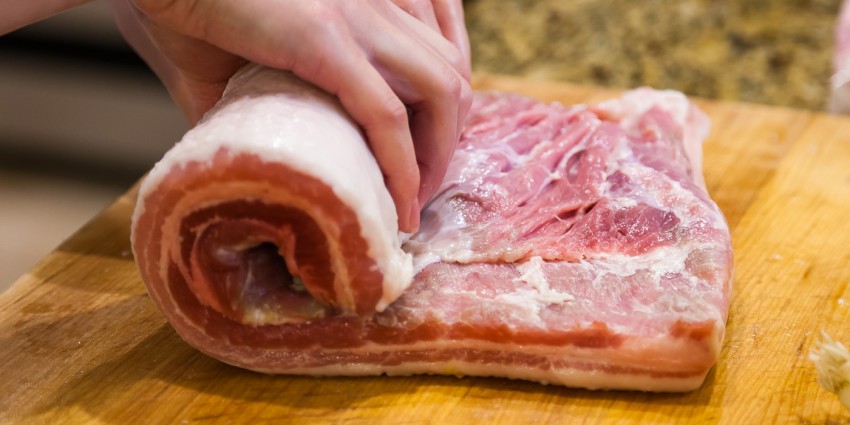
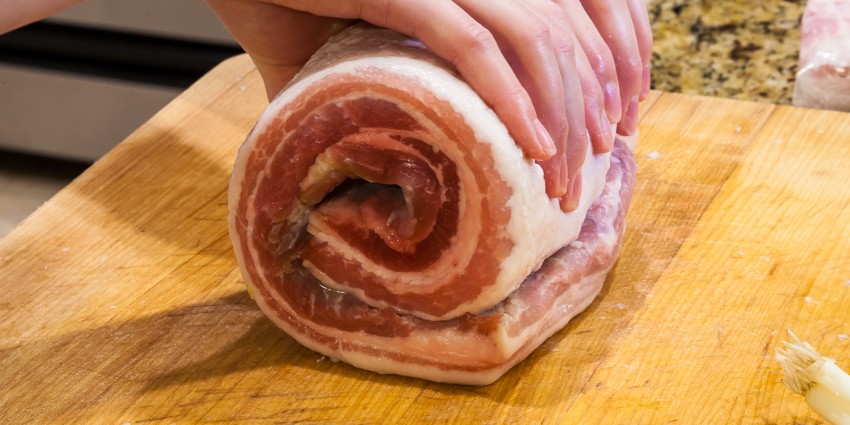
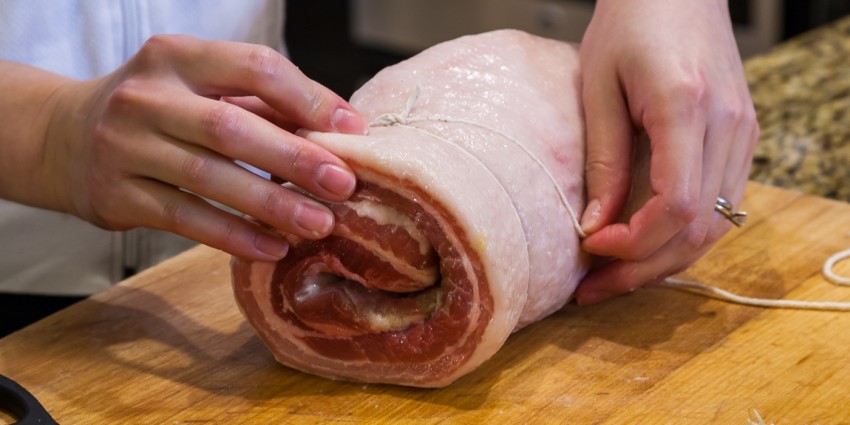
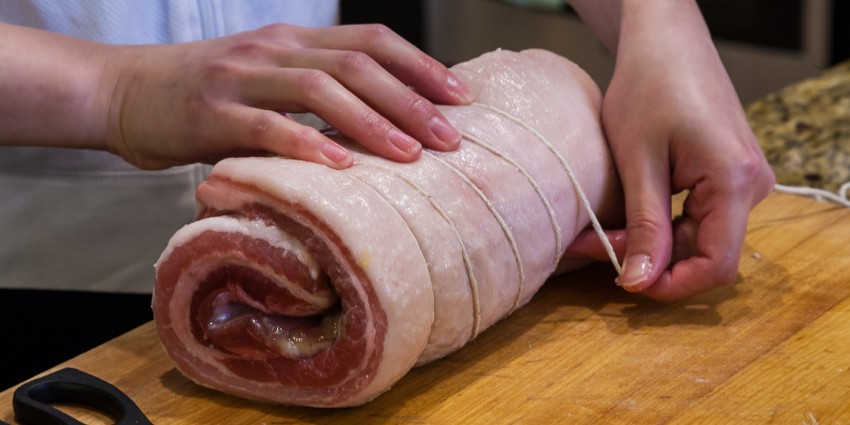
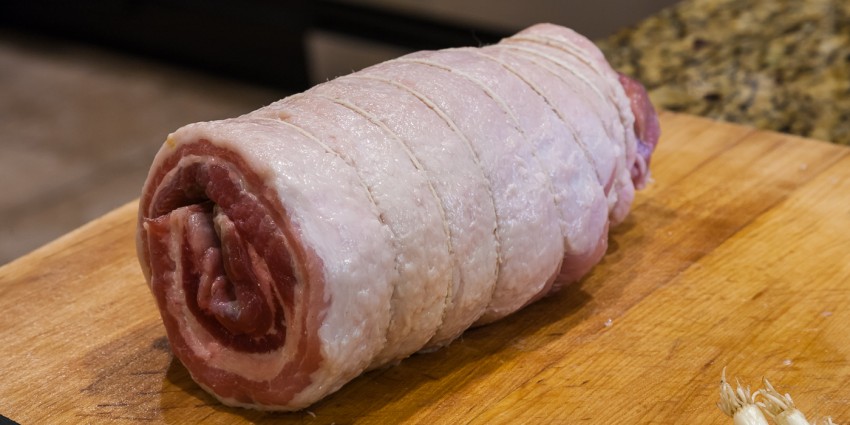
- Sprinkle the ¼ teaspoon of kosher salt evenly on the inner side of the pork belly block and massage gently.3 Then roll the pork belly block tightly to a log (as depicted). Use kitchen twine to first tightly tie a double knot at the end of the log (the twine should be at least 1 inch from the edge of the log). Then wrap the twine again and tie another knot. Then tightly wrap the kitchen twine around the log, leaving no more than 1 inch (~2.5 cm) gaps between the twine each time you wrap it around the log. Slowly work your way towards the other end of the log.4 Once the twine is close to the other end of the log (around one inch from the end), wrap the twine around the same loop a few times and tie a double knot at the end.
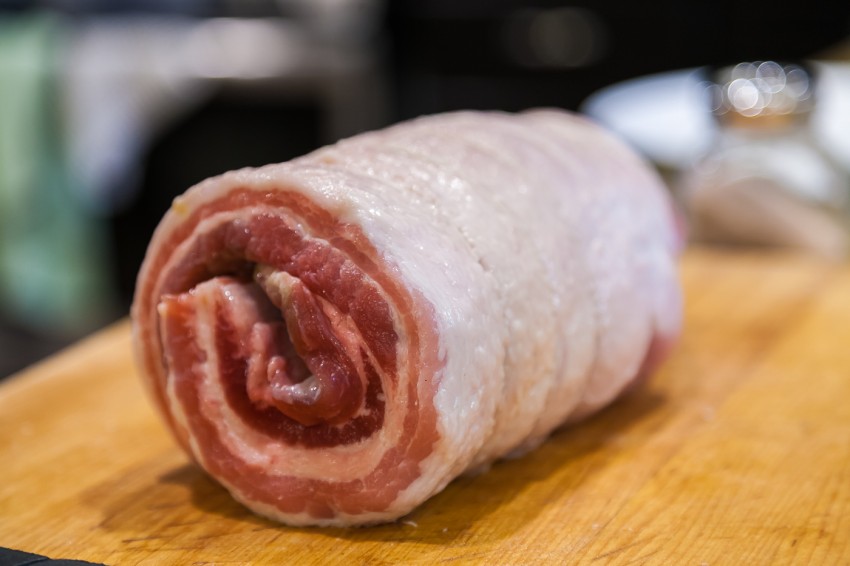
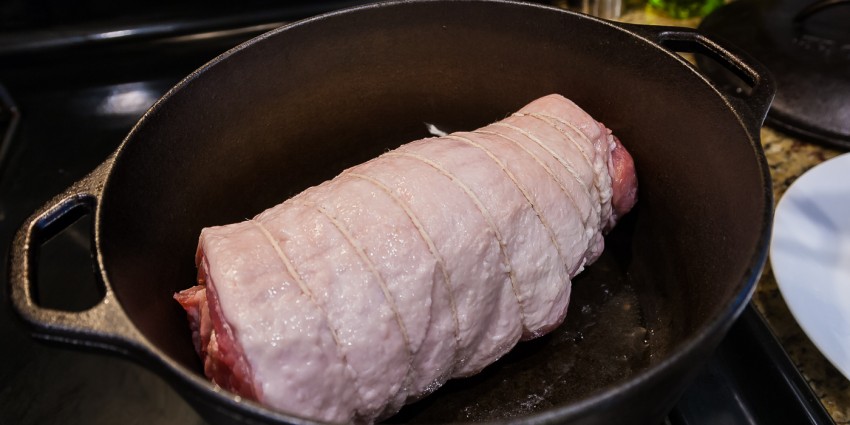
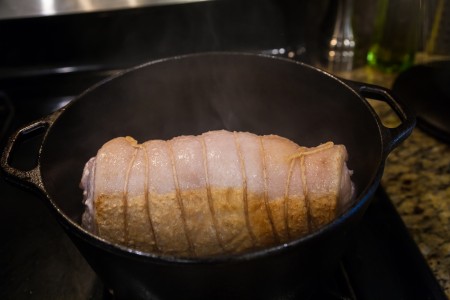
- Heat 2 tablespoons of vegetable oil in a Dutch oven at medium-high to high heat.5 Add the entire pork belly log to the pot. Sear one side of the log at a time until all sides are nicely browned (due to the high heat, use a splatter screen to prevent oil from splattering). This step should take about 12 mins.


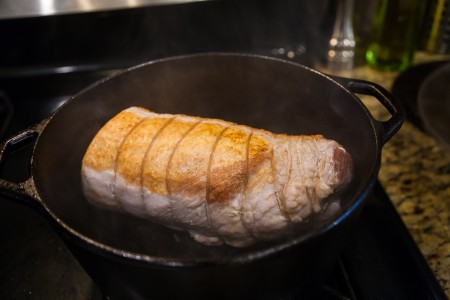
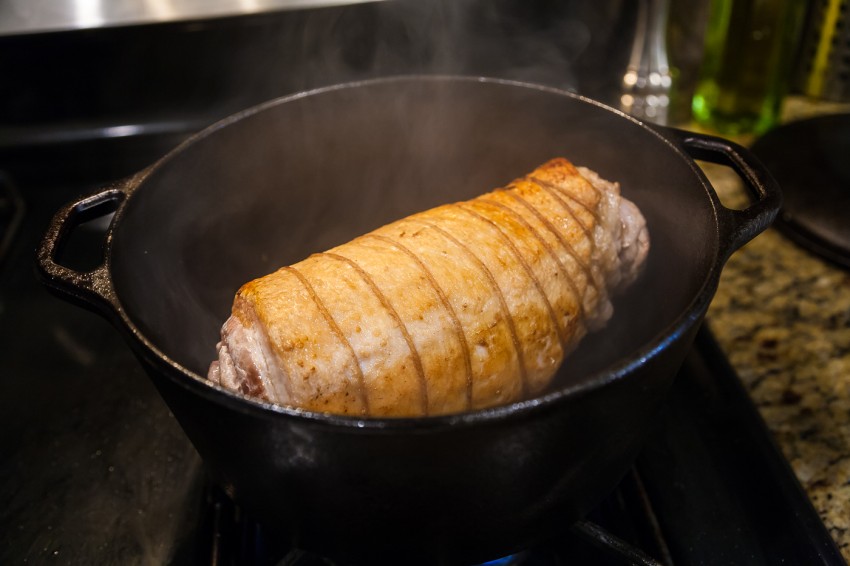
- Transfer the seared pork log onto a plate. Pour out the oil remaining in the Dutch oven. Keep the heat at medium-high, then add back the pork belly log along with the rest of the ingredients at the same time: ginger slices, green onion parts, whole garlic cloves, 1 cup mirin, 1 cup soy sauce, 1 cup sake, 2 tablespoons of sugar, and about 2 cups of water (if using non-rolled pork belly block, start with 1 cup of water). Mix well. The pork belly log should be at least half immersed in the liquid. If not, add more water until the log is half immersed.
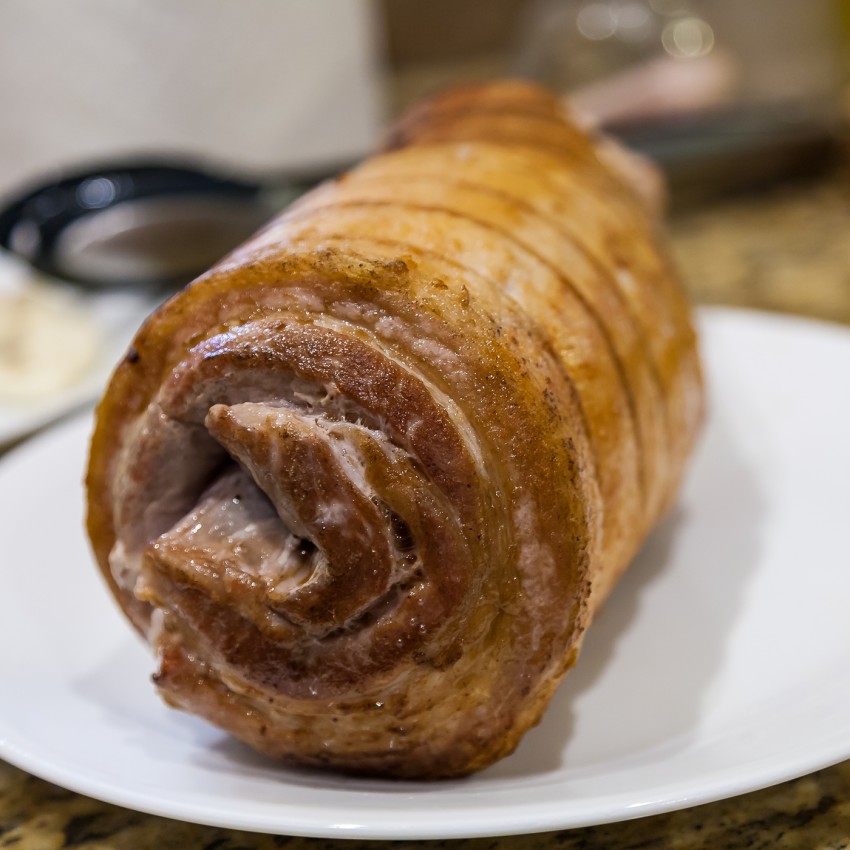
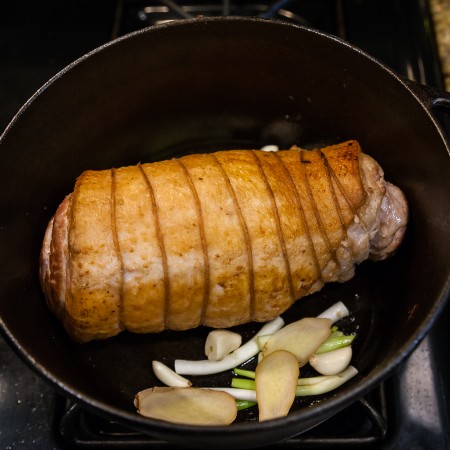
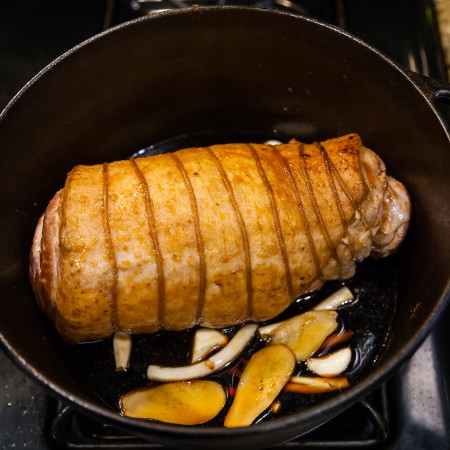
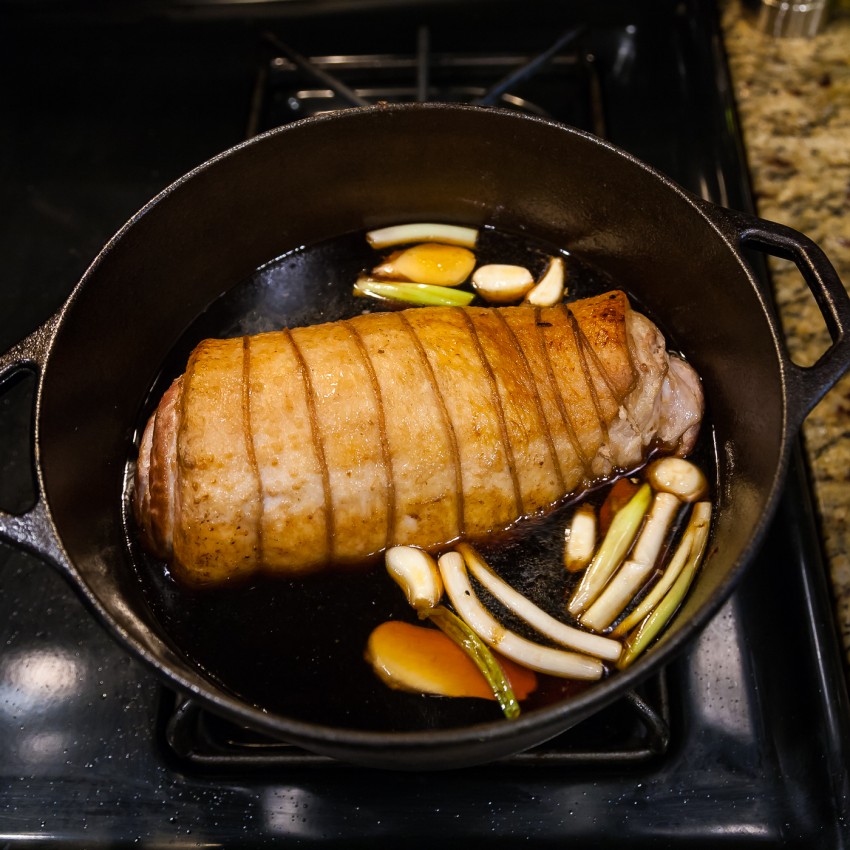
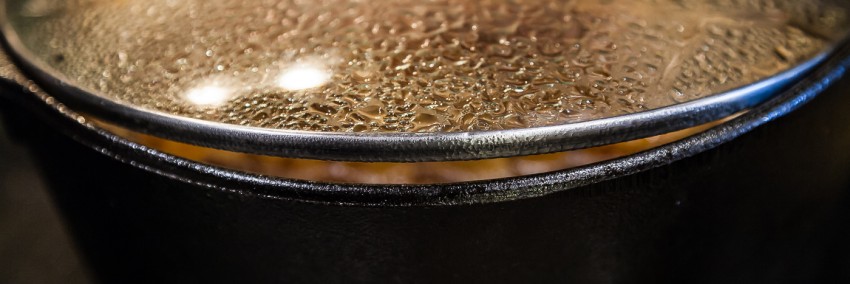
- Cover and watch closely. Once the liquid starts boiling, remove the lid. If foam starts forming, skim off with a mesh skimmer. Turn the heat to medium-low to maintain a simmer. Then put the glass lid6 on and rotate the meat every 30 minutes or so to allow the log to be evenly cooked in the liquid. Braise the meat for about 2 hours while making sure a simmering state is always maintained.
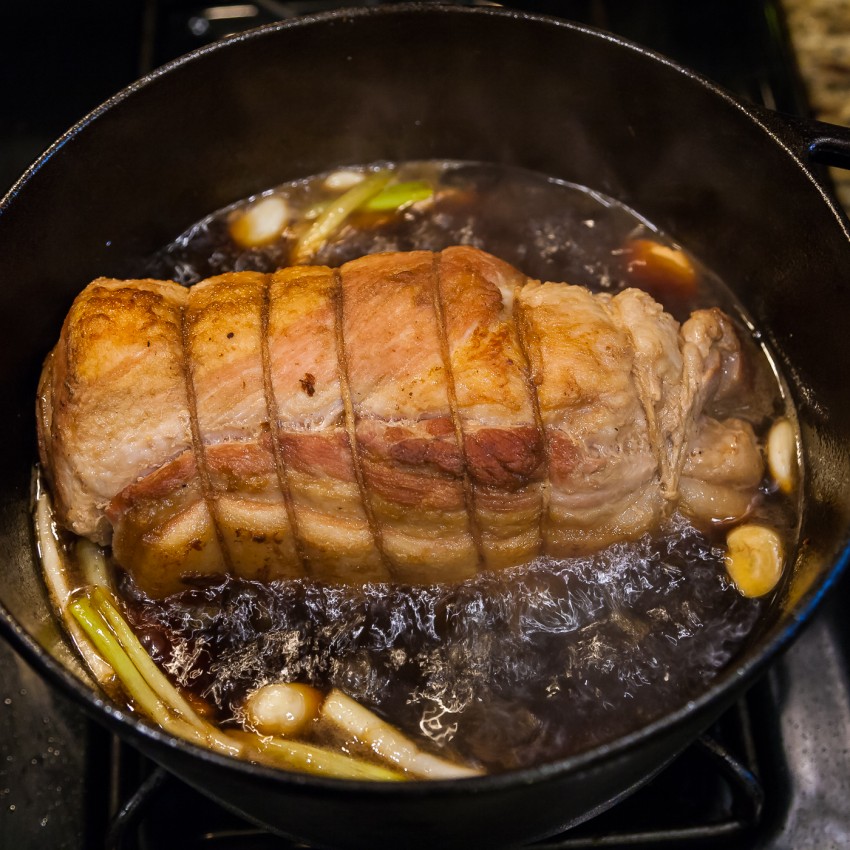
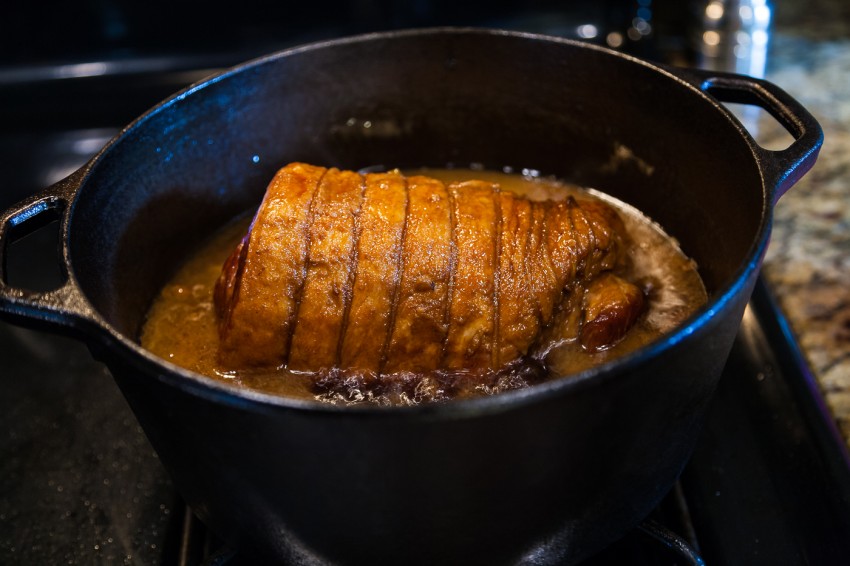
- When 2 hours is up, turn off the heat. Transfer the Chashu log onto a plate to cool off. Most likely the liquid has been reduced to half or ¼ of the original amount. If there is more than half of the flavor liquid left, raise the heat to high to bring the liquid to a boil. Then leave the Dutch oven uncovered for about 5 minutes to allow the liquid to thicken a bit.
- Once the Chashu log is completely cooled off, it will be much easier to slice. However, it’s best to immerse the Chashu log in the remaining liquid (filter out the solids and solidified fat if possible) and refrigerate them together in a glass container overnight. This further harden the shape of the log and allows more flavors to be absorbed into the meat. The log will also be much easier to slice after being in the fridge overnight.
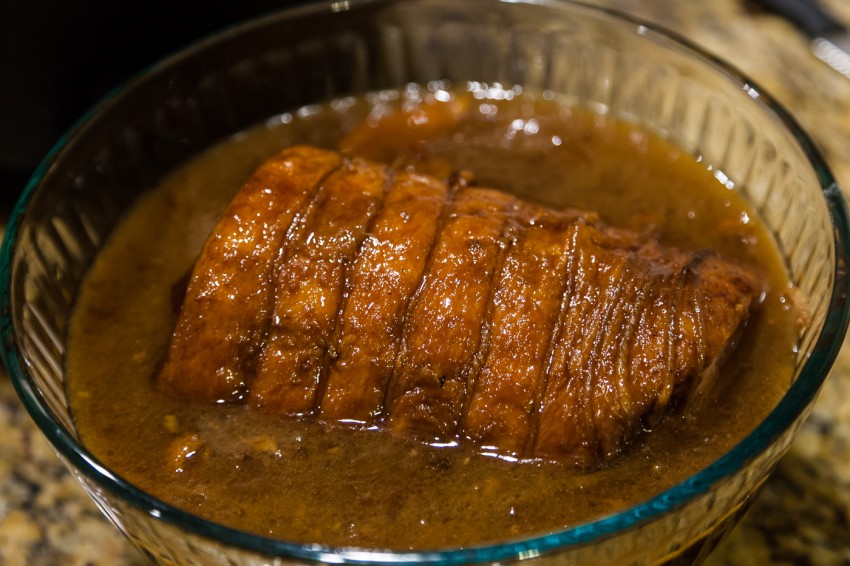
- For serving, set a broiler to high. Slice the Chashu log into the desired number of slices of no more than ¼ inch (~0.5 cm) thickness. Line a broiler safe baking sheet or pan with aluminum foil. Transfer the Chashu slices to the baking pan. Then brush each individual Chashu slice with some of the liquid that was left in the container. Do not skip this brushing step. It will add more flavor and juice to the final Chashu.
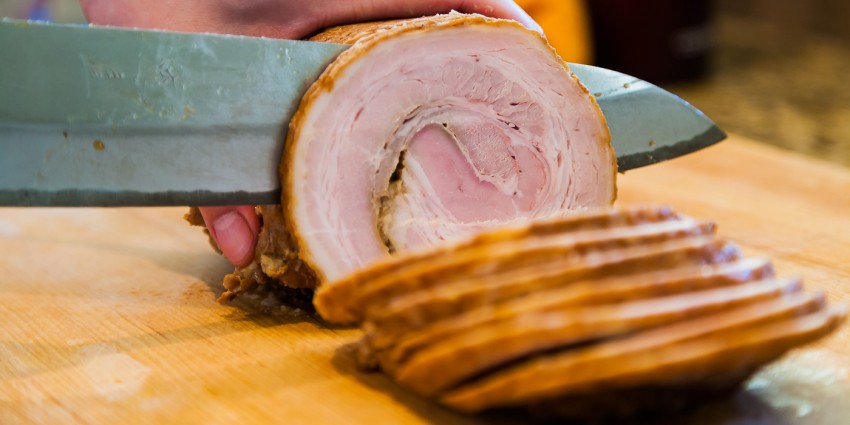
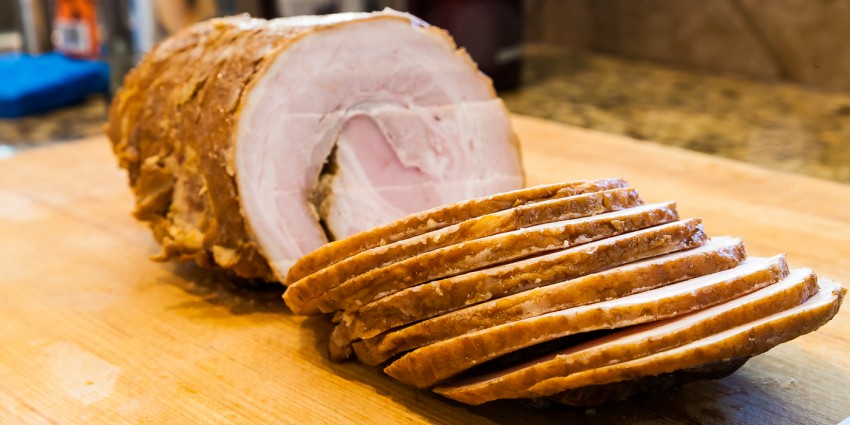
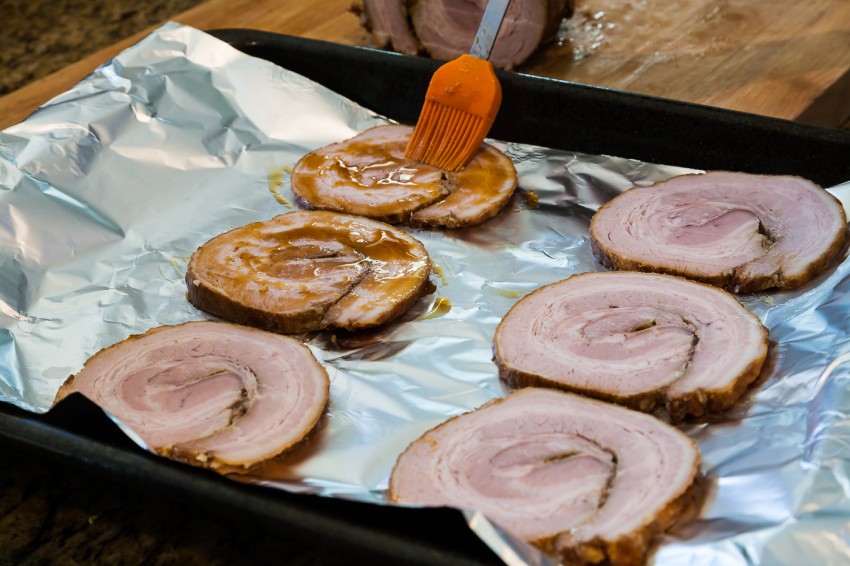
- Broil the Chashu for 1-2 minutes until the surface is slightly seared. Watch the broiling process closely to prevent burning the Chashu. Alternatively, you can use a propane torch to sear the Chashu.

- Serve the Chashu slices with Japanese Ramen noodles, rice, or make a Japanese Chashu pork sandwich. It will taste great with anything! The remaining Chashu pork can be stored with the liquid for a week in a refrigerator. The liquid can also be used to make ramen eggs or mixed with noodles or rice for added flavor.

Bon Appétit

Notes:
- I bought my pork belly block from Costco, but many Asian grocery stores sell them in blocks too. Costco’s pork belly blocks do not come with the skin, which is what I prefer, and the block is usually large enough to make 2 to 3 Chashu pork logs (about 12 inch or 30 cm long). If you can’t find a large enough pork belly block that can be rolled into a log, you can use a small block without rolling into a log. Everything else stays the same except you should reduce the simmering time to 1-1.5 hours.
- I used organic ginger here (also from Costco). For organic ginger, you don’t need to peel the skin. Just wash thoroughly.
- If your pork belly block comes with skin, make sure the skin side faces the outside of the log. If it does not come with skin, I like to have the fat part (the white part) facing out.
- The shorter the log, the smaller the gaps should be between each twine wrap. This is because shorter logs tend to change shape if the wrap spacing is too large.
- I used a 5 quart cast iron Dutch oven here. Make sure the pork belly log fits inside your Dutch oven. I find my cast iron Dutch oven perfect for this recipe since cast iron is ideal for searing meat and I don’t need to change the pan for braising.
- Traditionally Japanese cooking uses a wooden drop lid called Otoshibuta. It is designed to rest directly on top of food that’s cooked in liquid to prevent food from moving around and to circulate liquid more evenly around. Since I don’t have an Otoshibuta, and the log does not move during braising, I used a vented glass lid that’s slightly smaller than the Dutch oven lid. I also left it a bit ajar to allow a small amount of steam to escape, and I rotate the angle of the lid opening every 30 minutes at the same time I rotate the pork belly log.
As an Amazon Associate I earn from qualifying purchases.


