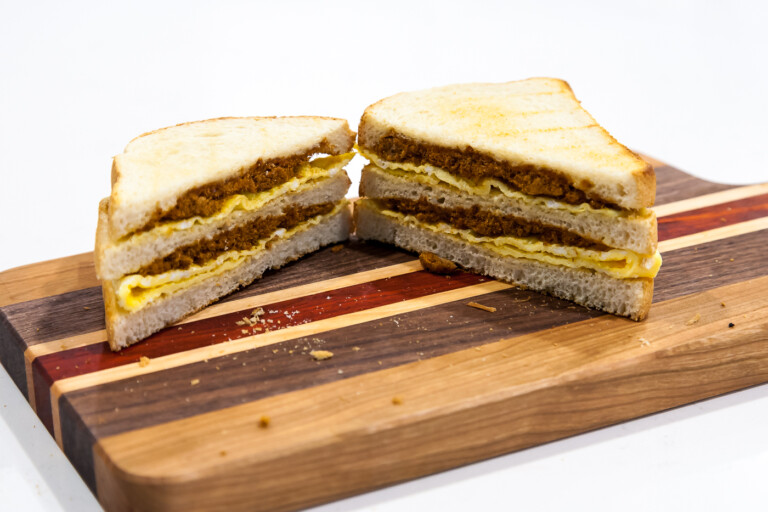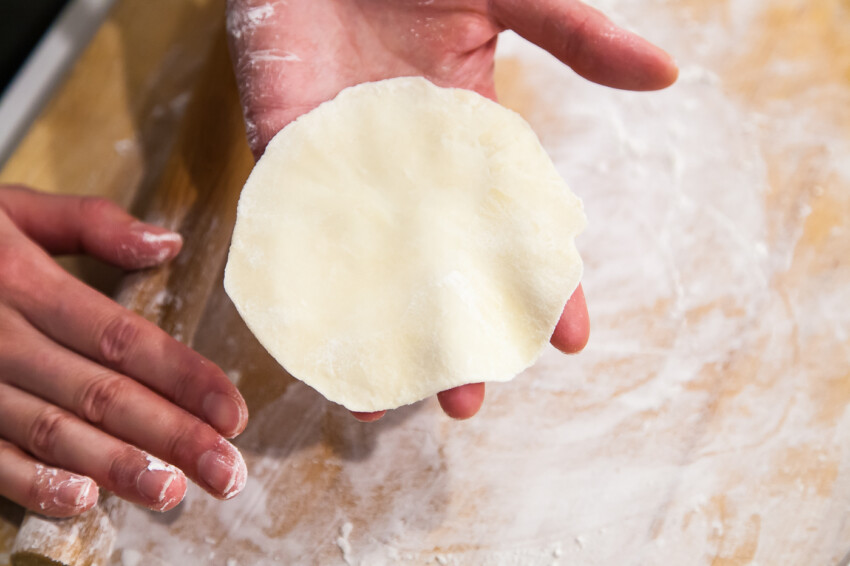
Homemade Dumpling Wrappers (饺子皮 Jiao Zi Pi)
December 3, 2022 Print
I have already posted quite a few of my dumpling recipes, so this post about how to make homemade dumpling wrappers is long overdue. Although I promised to share my dumpling wrapper recipe quite a while ago (in the first dumpling recipe that I shared), store-bought wrappers are just too convenient for me as a mom with two kids. Nonetheless, I do prefer homemade dumpling wrappers – so I try to make them whenever I have time to do so.
Fortunately, during the recent Thanksgiving holiday week, I was able to finally make dumpling wrappers again. Although I hadn’t made them for quite a while, I still remembered the steps. It’s quite easy to make dumpling wrappers and once you’ve tried it, you should be able to remember how to make them for years to come.
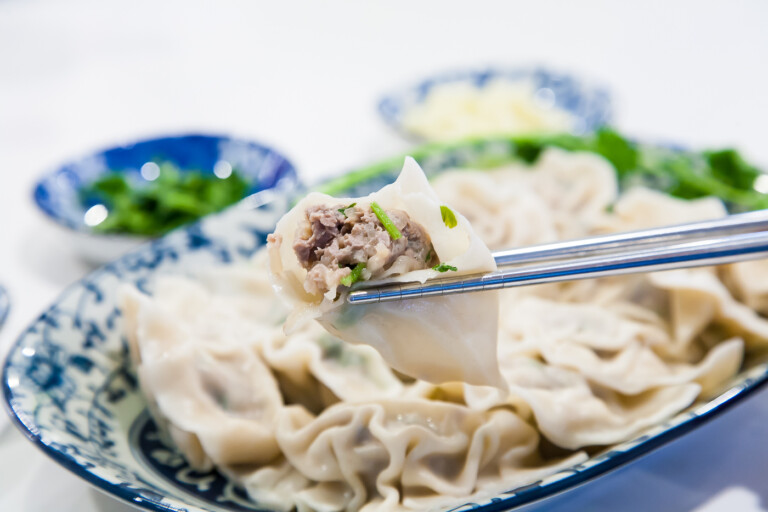
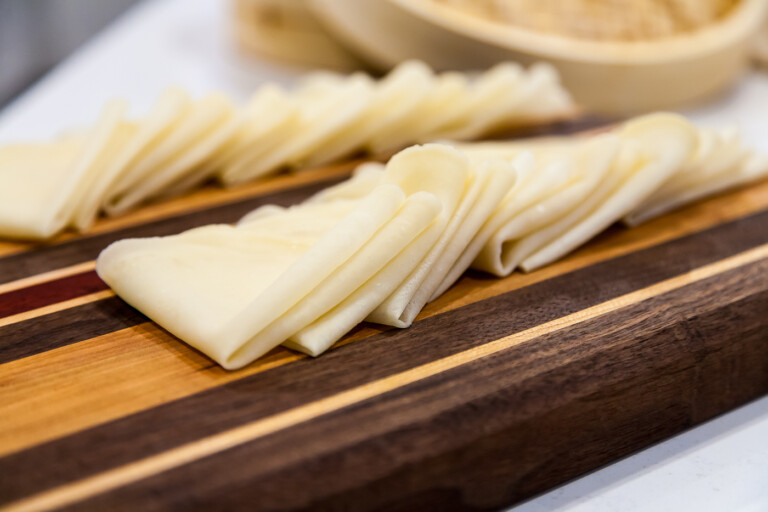
Homemade dumpling wrappers are definitely not as convenient as store-bought ones. But they definitely taste better. They have a QQ texture, are more chewy, and can accommodate more filling, which results in bigger dumplings! And they are more resistant to breaking.
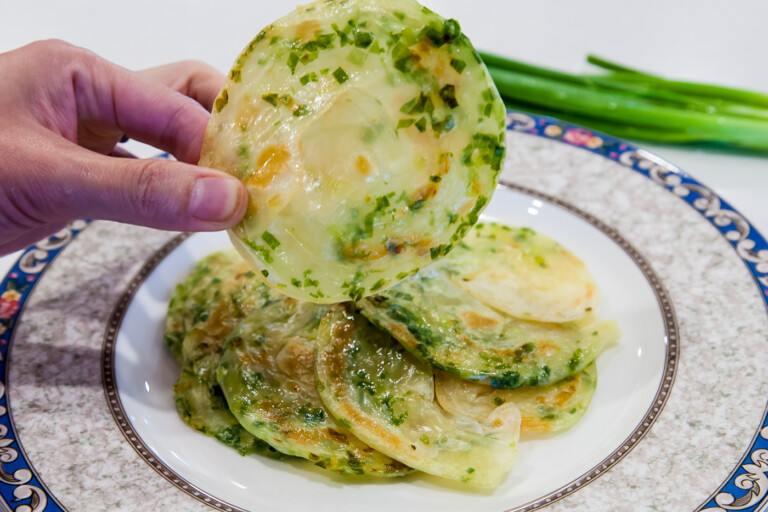
If you have time to make homemade dumpling wrappers, I would definitely do it. Don’t worry if you have already bought store-bought wrappers. You can always use those later or use them to make other things like improvised scallion pancakes.
Making dumplings, including the wrappers, can be a wonderful and memorable family ritual. I think that’s why making dumplings has a special place in my heart. I have fond memories of taking part in family gatherings at my grandparents’ place with my entire extended family. We would always make dumplings and everyone had his or her role to play in making the family dumpling dinner a reality.
Vegan
Tool: Roller Pin
Preparation Time: 2 hours (mostly inactive)
Total Time: 2.5 – 3 hours
Servings: ~40 – 50 wrappers
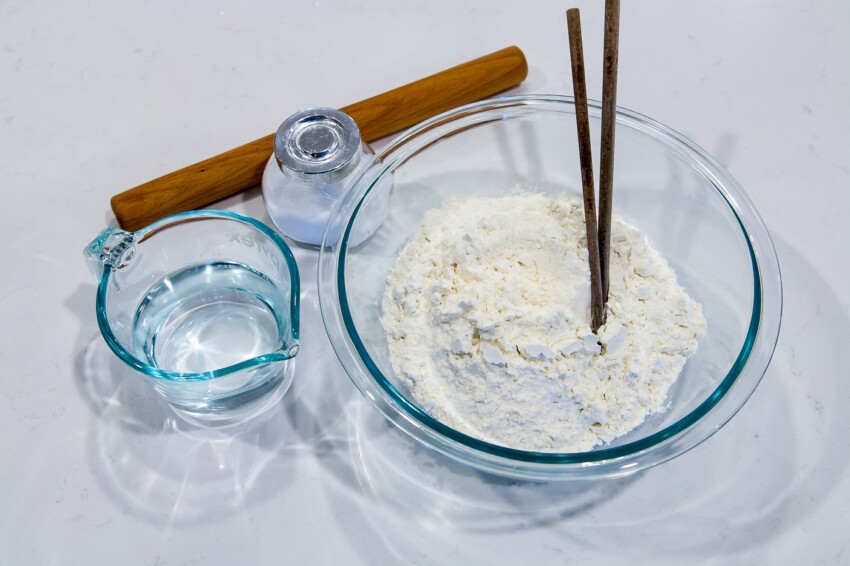
Ingredients:
- ~3 cups all purpose flour or medium protein flour (about 450 g) + more for rolling
- ~1 cup warm water
- 1/4 teaspoon kosher salt (or 1/8 teaspoon table salt)
Preparation:
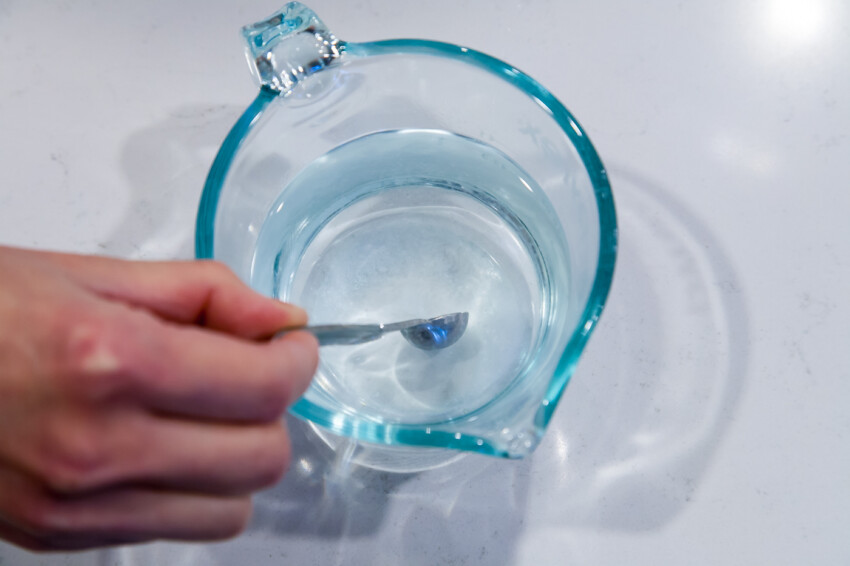
- Mix 1/8 teaspoon of kosher salt in 1 cup of warm water until the salt completely dissolves.
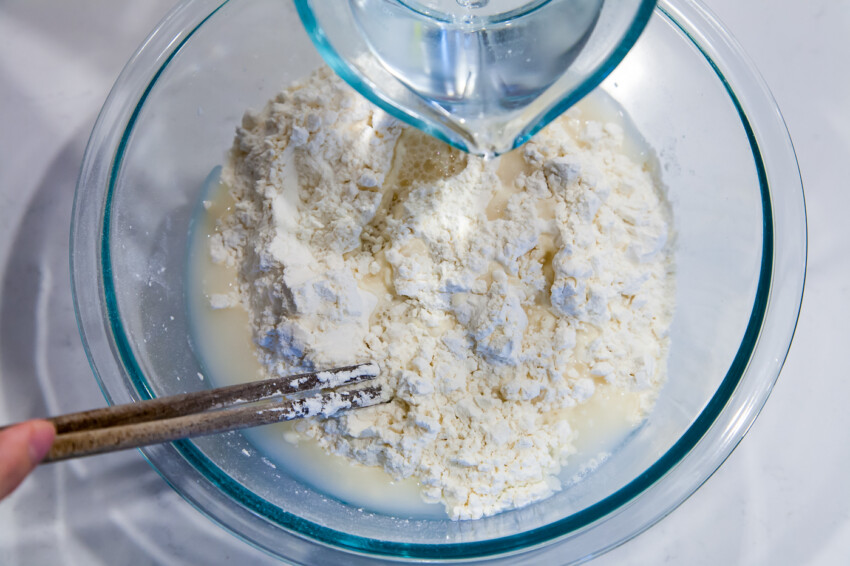
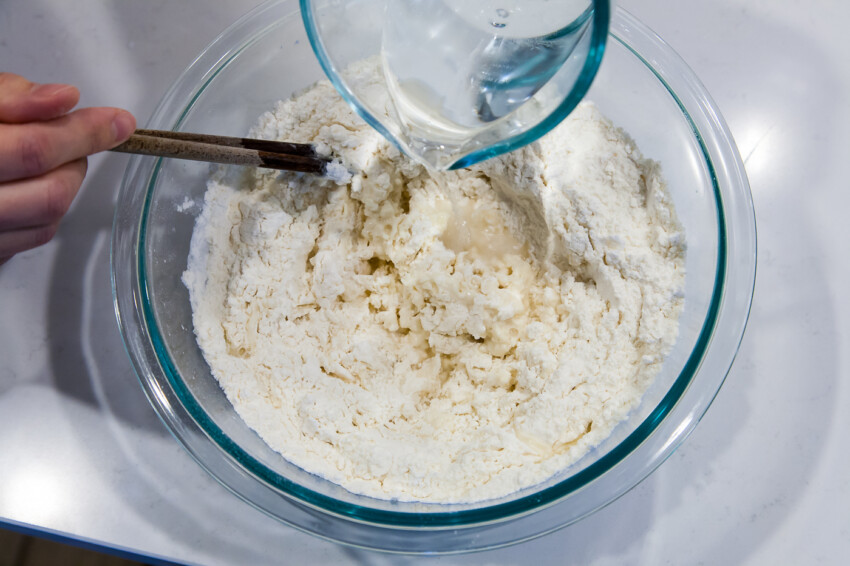
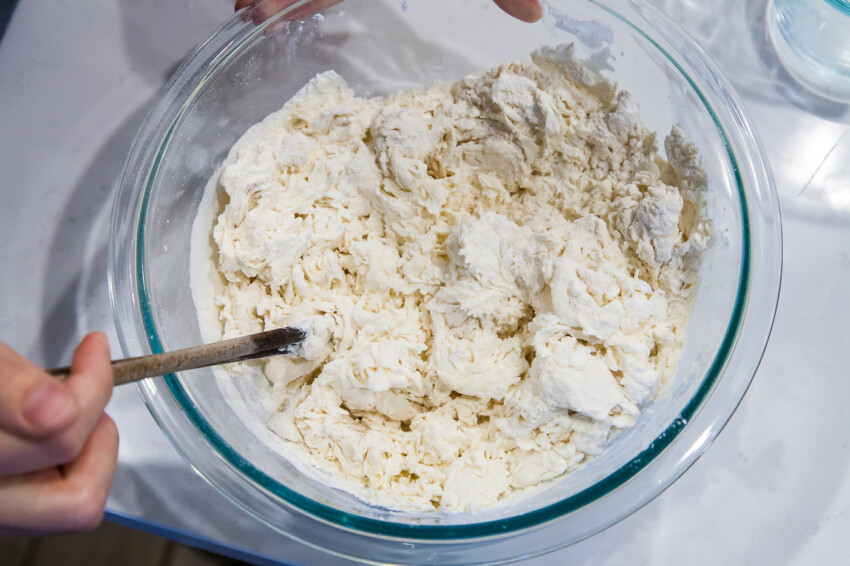
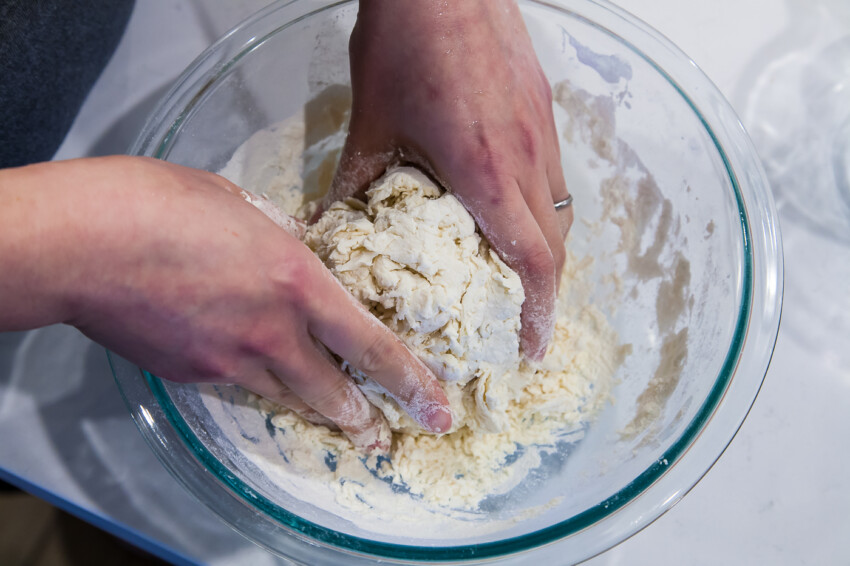
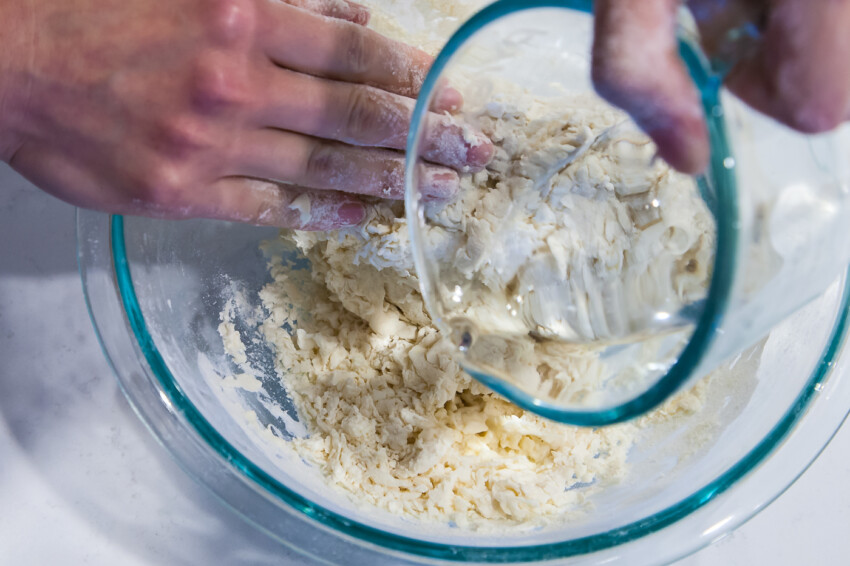
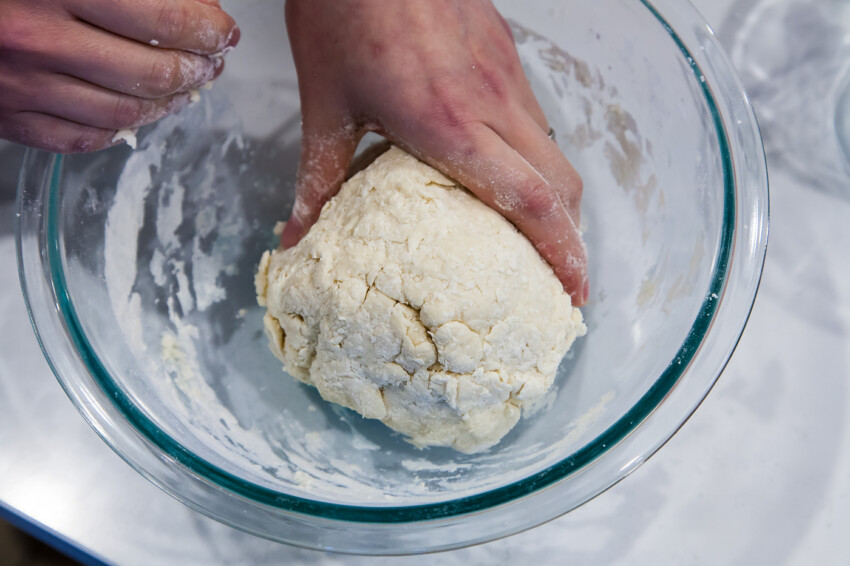
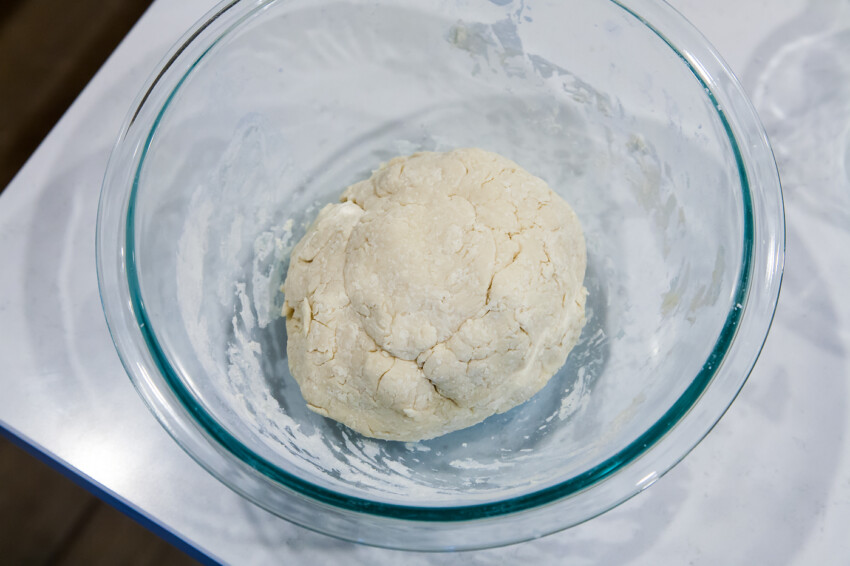
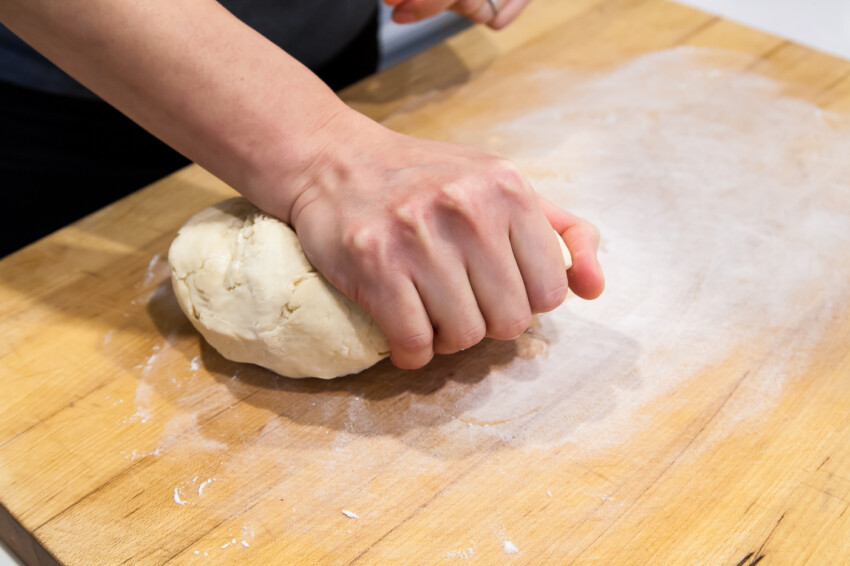
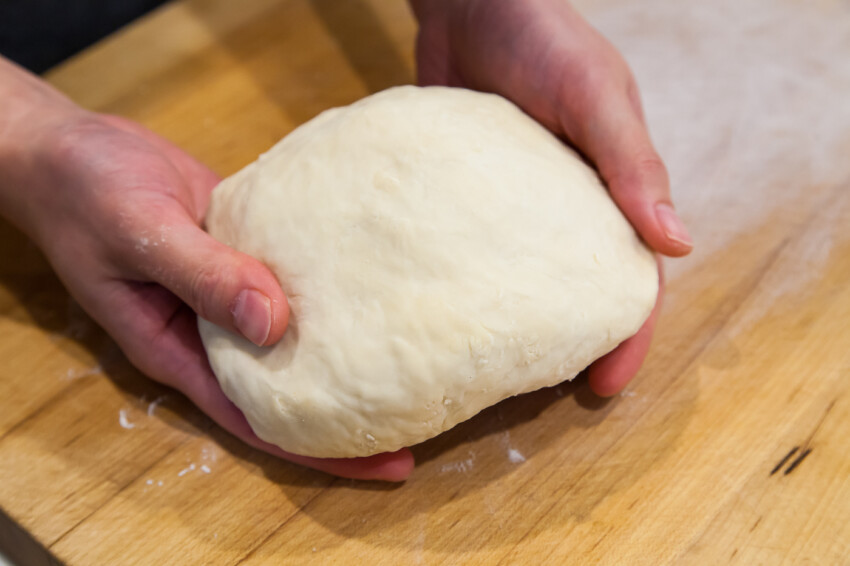
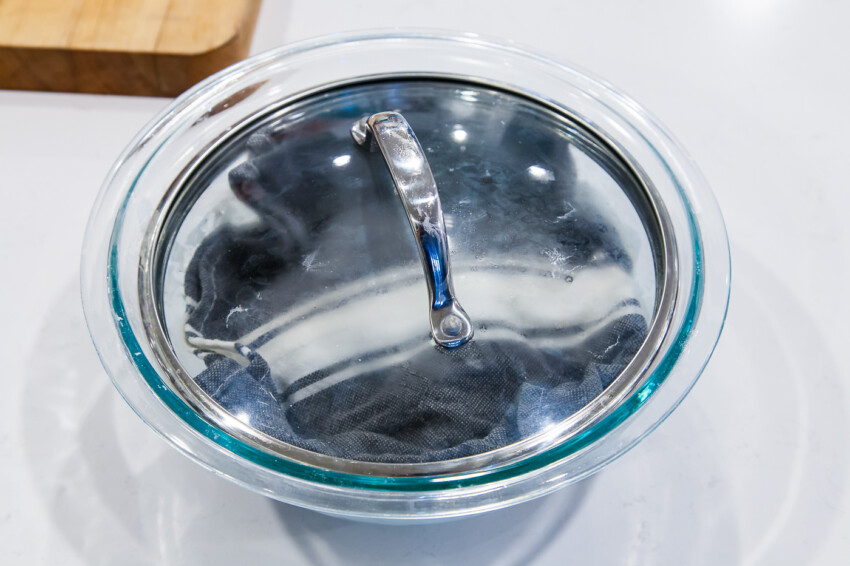
- In a large mixing bowl, add all the flour. Slowly pour in the warm salt water, using a pair of chopsticks or wooden spoon to bring the flour together. From my experience, it’s better to not add all of water at one time. Instead, add the water at two or three different times to make sure water is distributed evenly. When 2/3 of the flour has formed into a dough, use your hand to gather and incorporate the rest of the loose flour into the dough until the dough is no longer sticky. If the dough is too dry or cracking, add 1 teaspoon of water at a time to reduce the dryness. If the dough is too sticky, add 1 tablespoon of flour at a time until dough is no longer sticky. Do not knead. It takes about 5 minutes in total to form the dough. The dough should be relatively hard right now. Cover the dough either with a lid or a large piece of plastic wrap. Let the dough rest for 20 to 30 minutes.
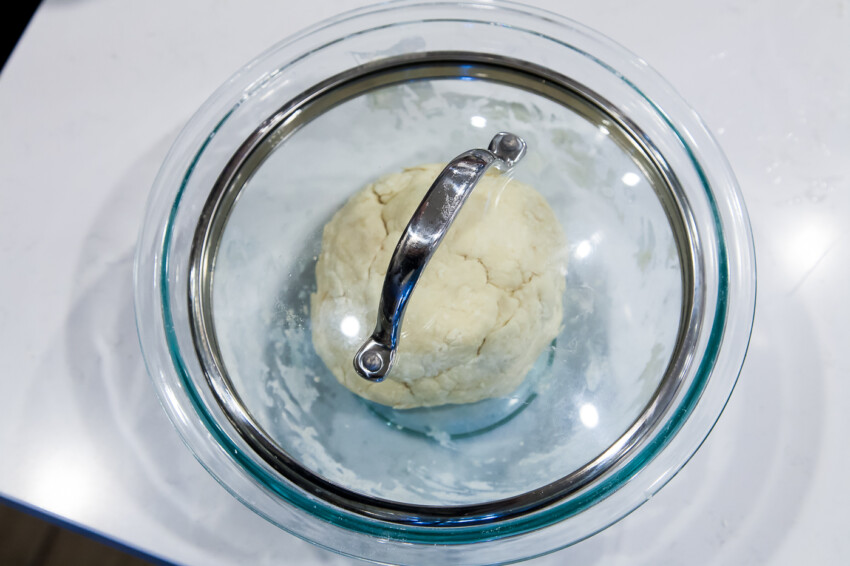
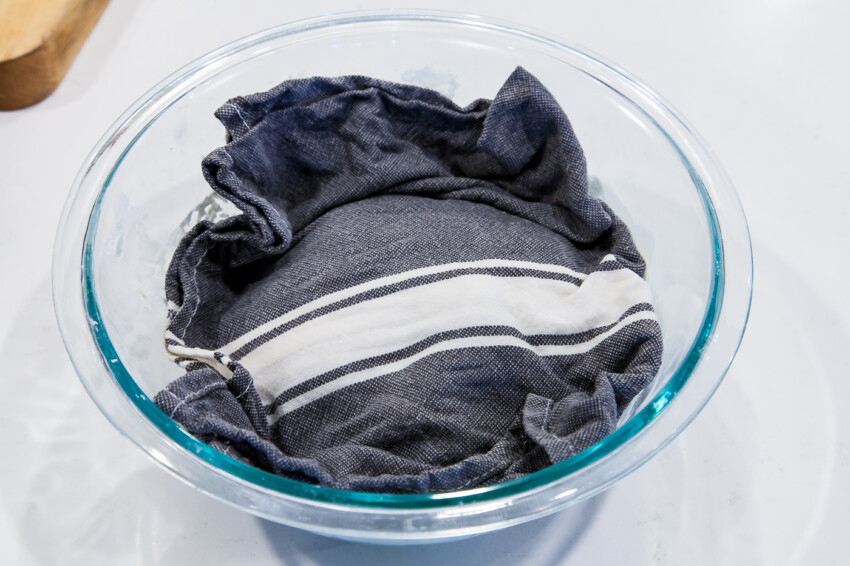
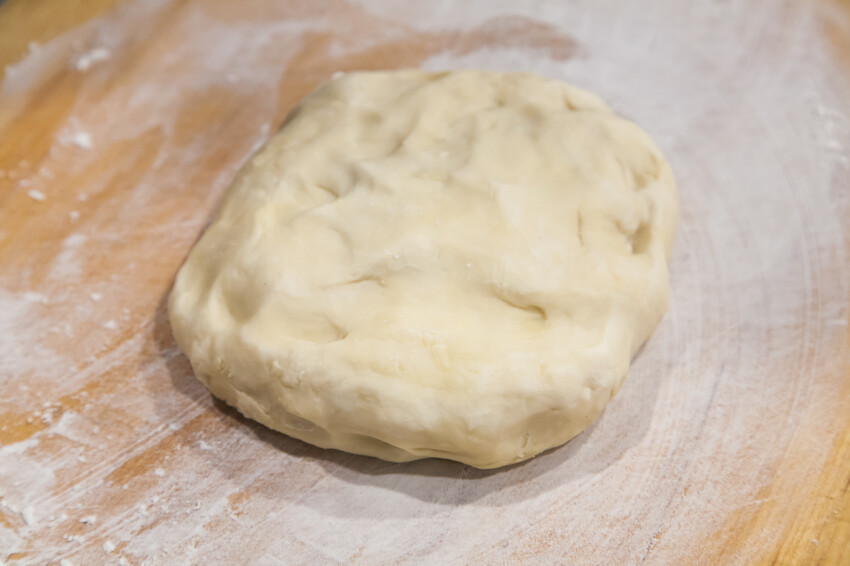
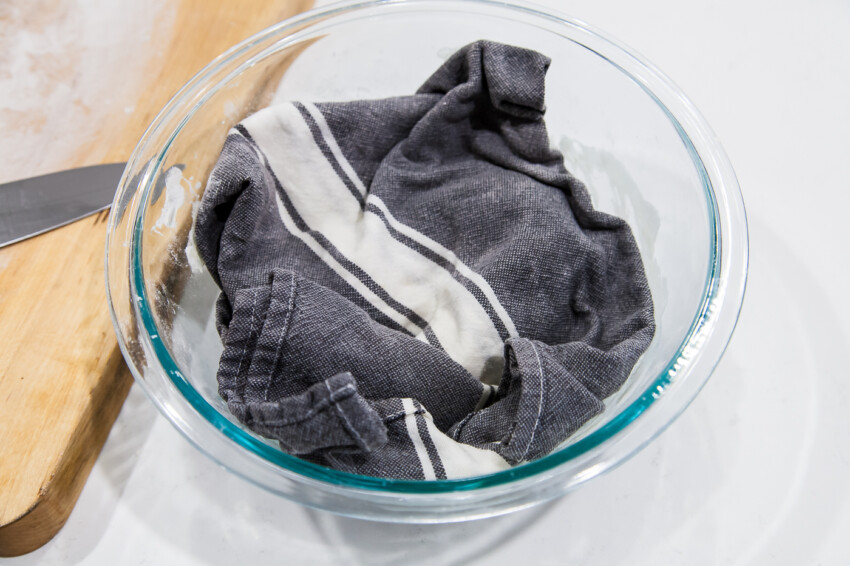
- After 20 to 30 minutes of initial resting, knead the dough a few times until the dough’s surface becomes smooth, which takes about 1 to 2 minutes. Put the dough back and cover with the same damp towel and lid. Let the dough rest for another 1 to 1.5 hours (depending on your room temperature).1 There is no yeast involved, so in terms of appearance, you won’t see a noticeable difference in the dough before and after resting. Nonetheless, resting the dough (醒面) is necessary for it to become soft and chewy. It also makes it much easier to roll. (Use this resting time to prepare your choice of dumpling mix. Here are some of my suggestions: Chinese Chive Pork Shrimp Dumplings, Napa Cabbage Pork Dumplings, Beef Dumplings with Carrots and Onions, Vegetarian Dumplings, and Lamb Dumplings.
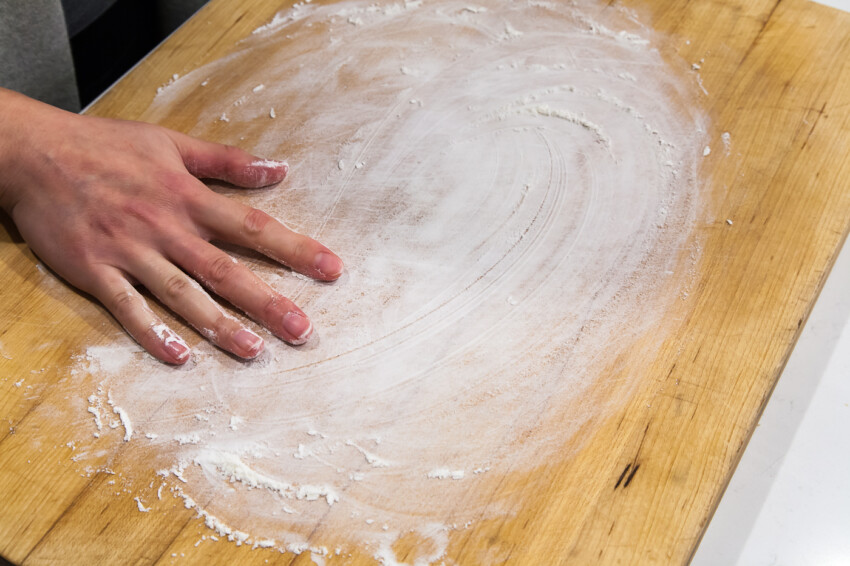
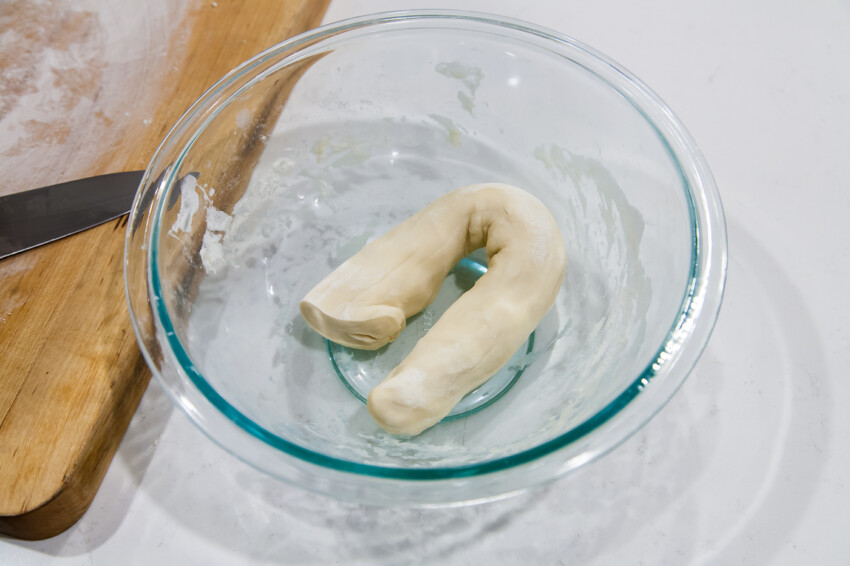
- On a cutting board or surface area, sprinkle some loose flour and spread with your hands. Knead the dough a few more times and form a log by rolling with both hands. Cut the log in the middle to form two separate, shorter logs. Cover one of the shorter logs with the same damp cloth to prevent it from drying out.
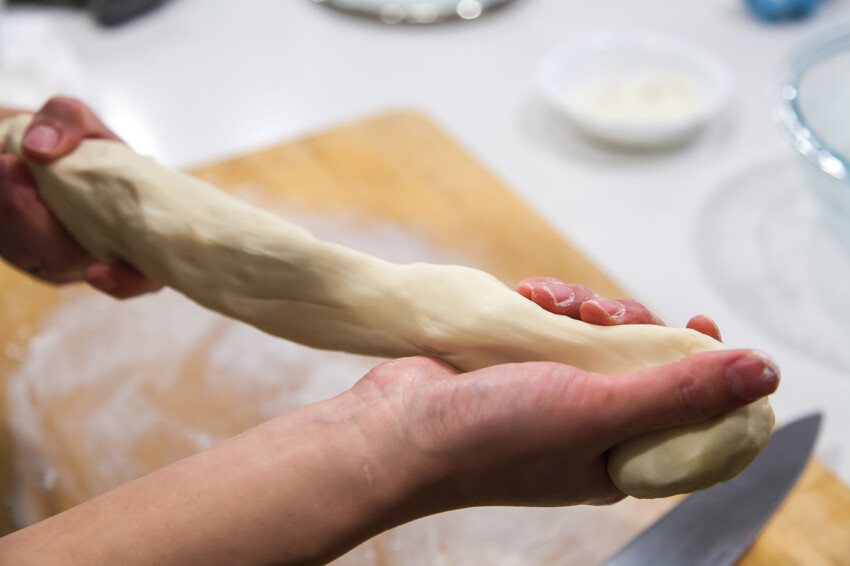
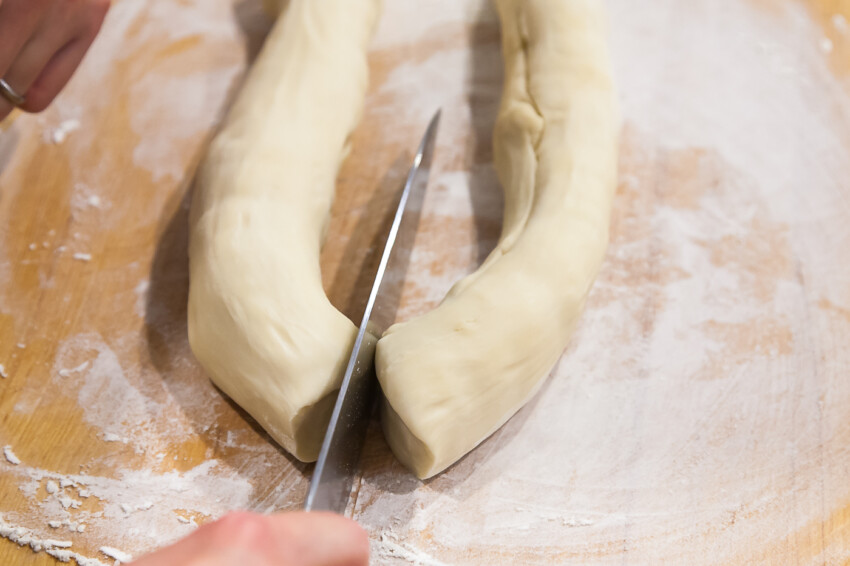
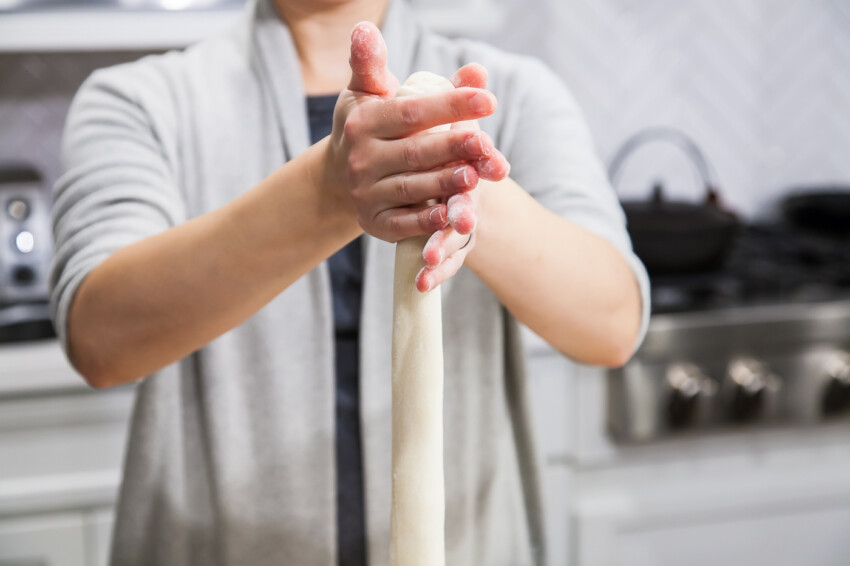
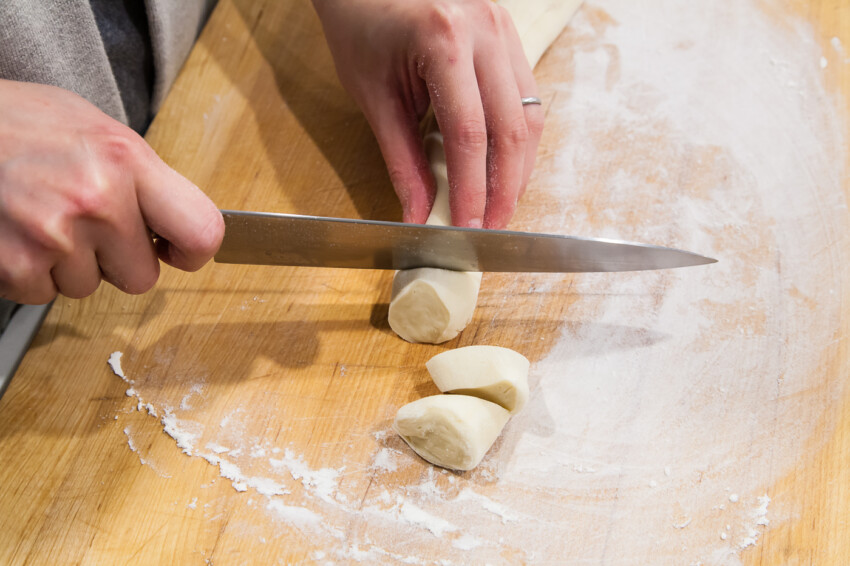
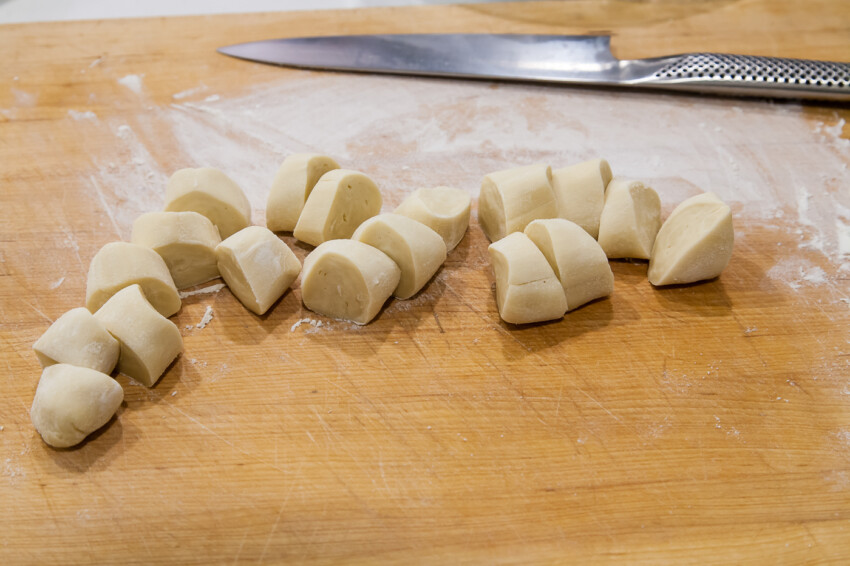
- Roll the other half log with both palms to make the log thinner and longer either in the air or on the cutting board. Consistency is the key here. Then cut the log into smaller medallions (剂子), each about 3/4 inch (~2cm) thick. I like to rotate the log by 90 degrees after each cut. Turn each medallion with the knife cut side up and press flat with your palm.
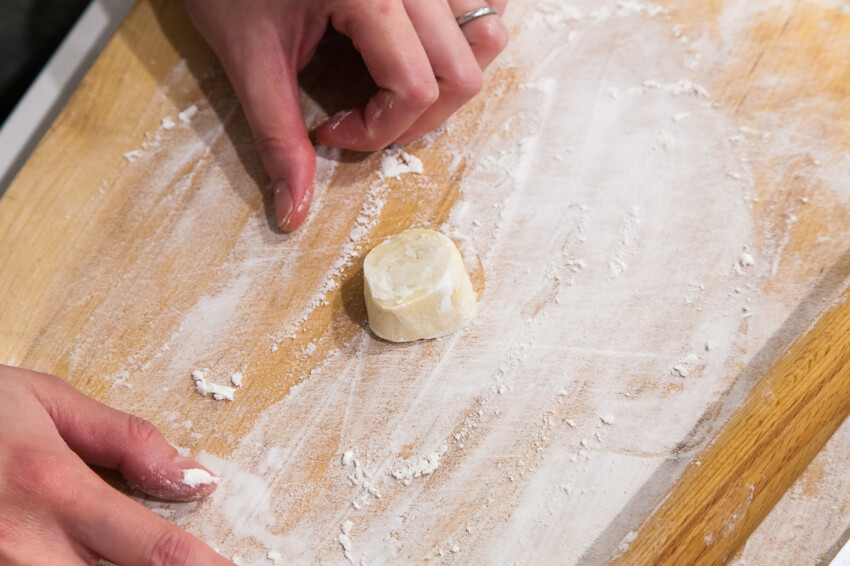
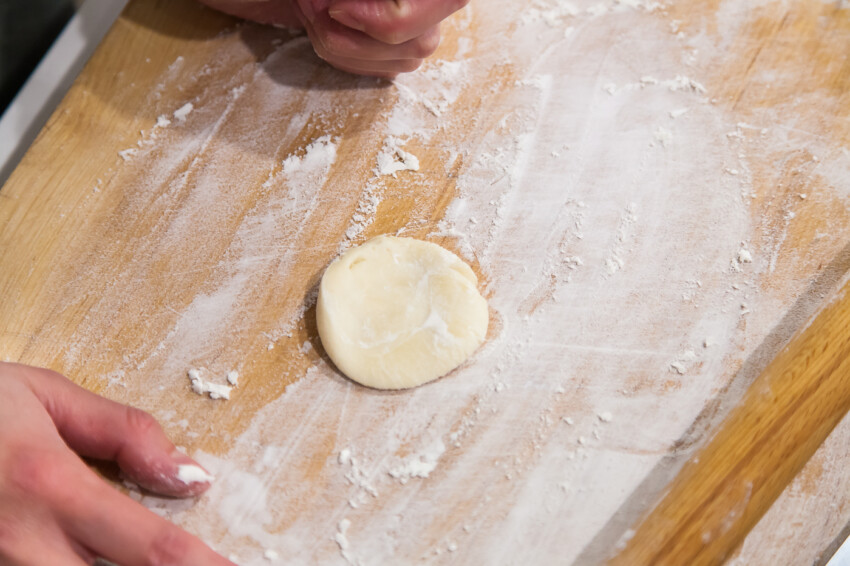
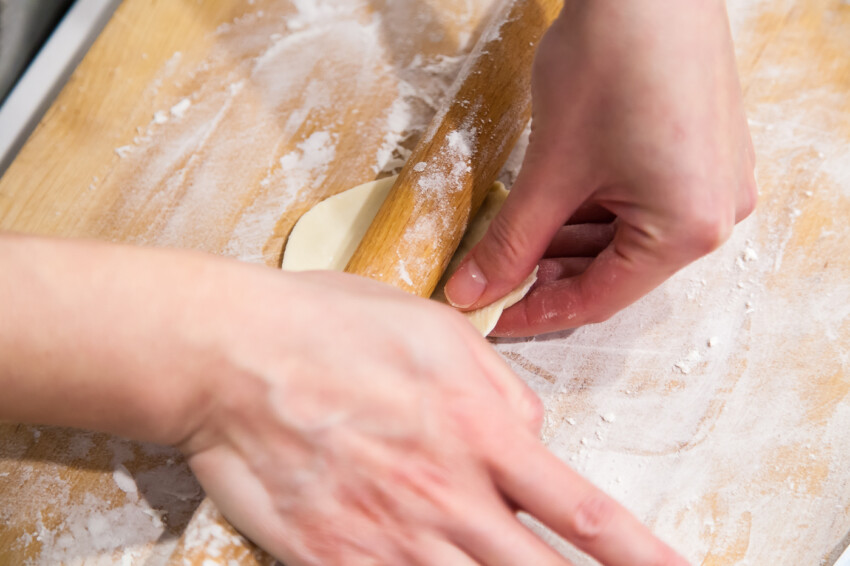
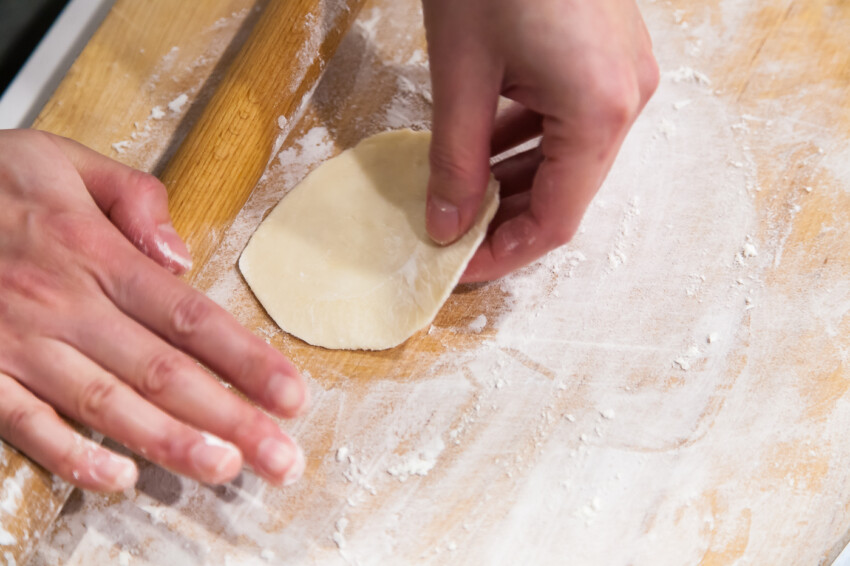
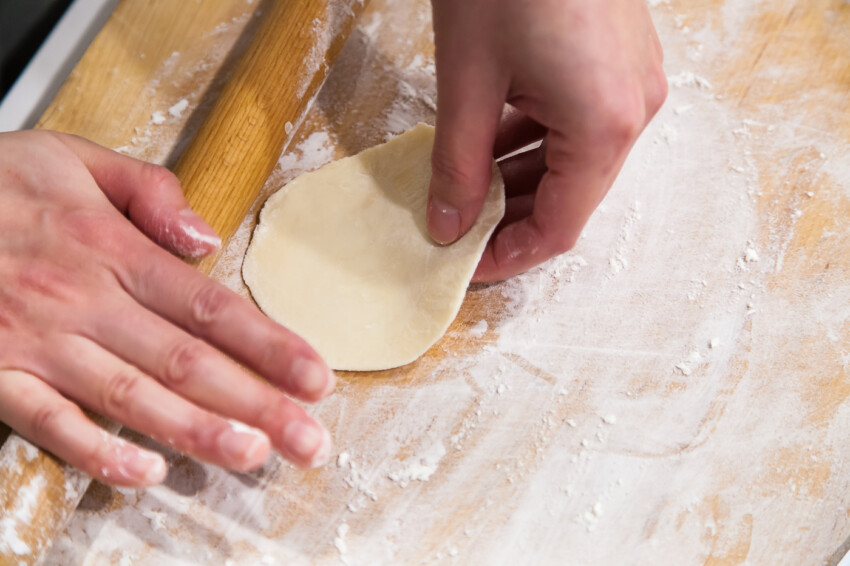
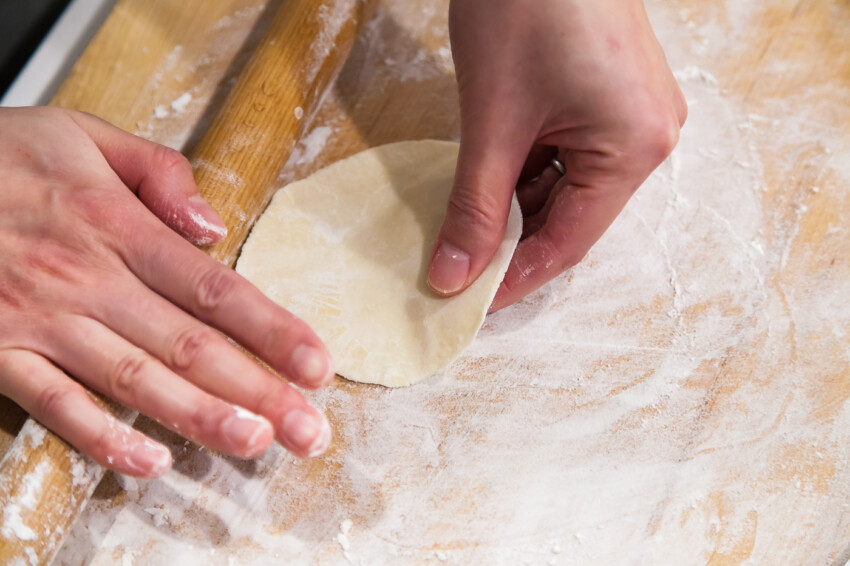
- Sprinkle some loose flour and spread with your hands again. Take one flat medallion. With your left hand holding the top portion of the medallion and right hand holding the rolling pin, roll the lower portion with one up (almost to the center) and down motion.2 This rolls at least 1/4 of the medallion into the thickness appropriate for dumpling wrappers. Once done, rotate the medallion by at least 90 degrees counterclockwise (if medallion is small, you can rotate by 180 degrees), and roll the lower potion again with one up and down motion. Repeat until the medallion becomes a round dumpling wrapper. (For beginners, it can be daunting at first, practice a few times to get a rhythm going. In no time you will be on your way to becoming dumpling wrapper master.)
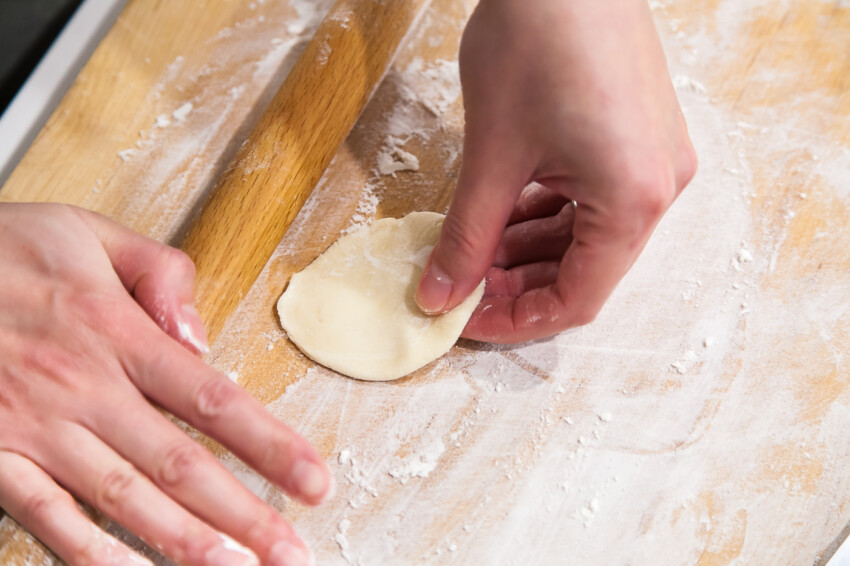
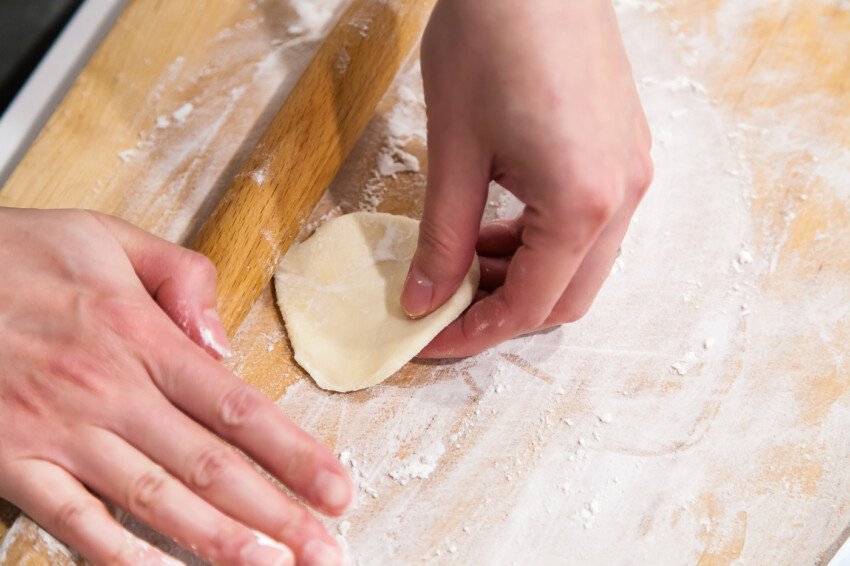
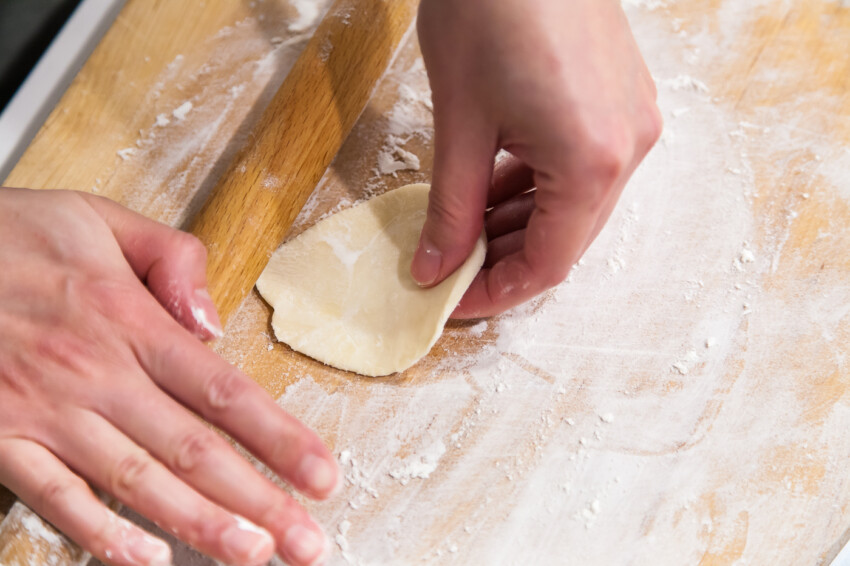
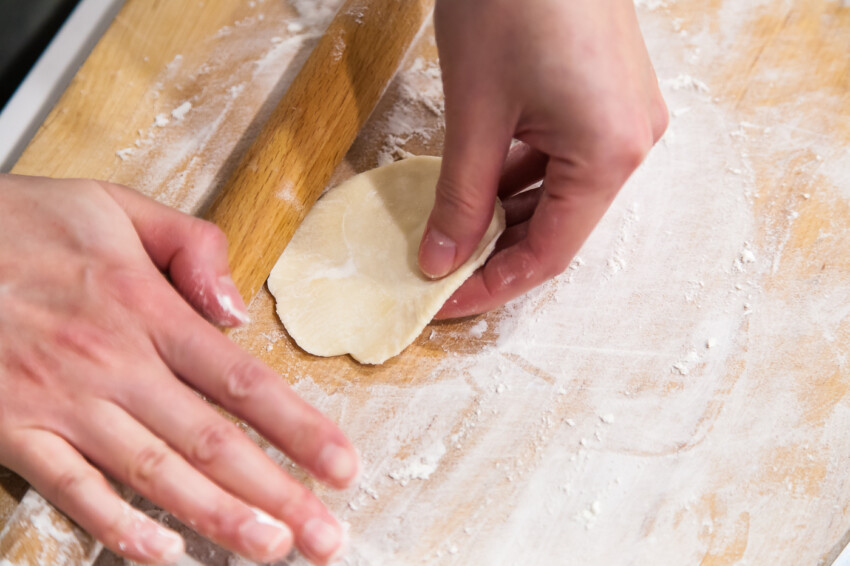
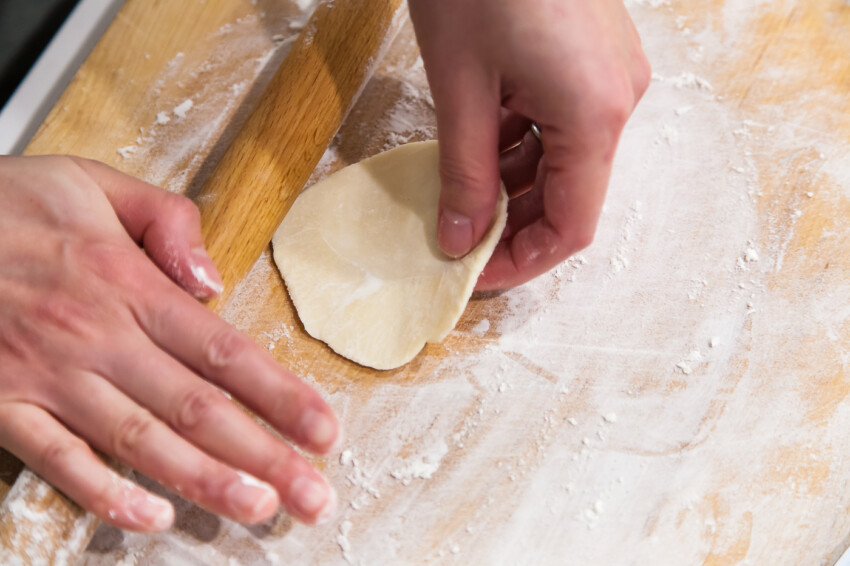
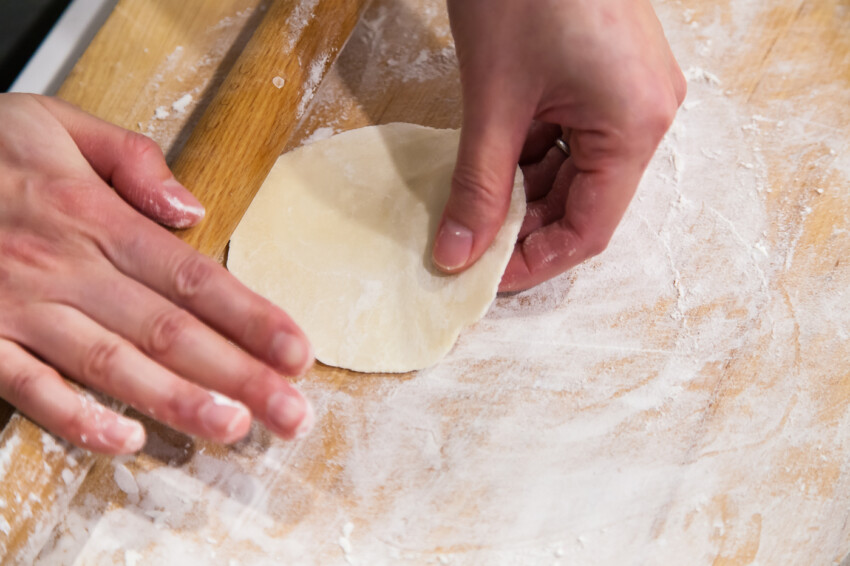
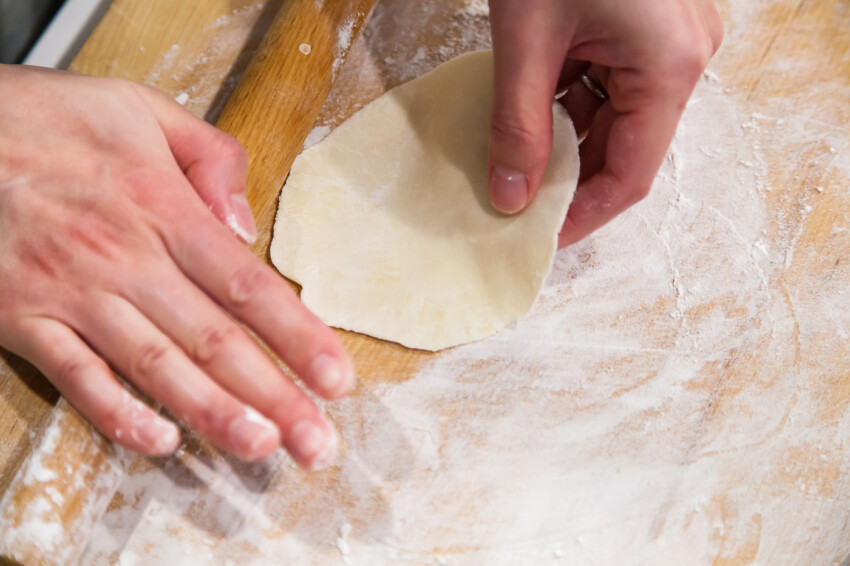
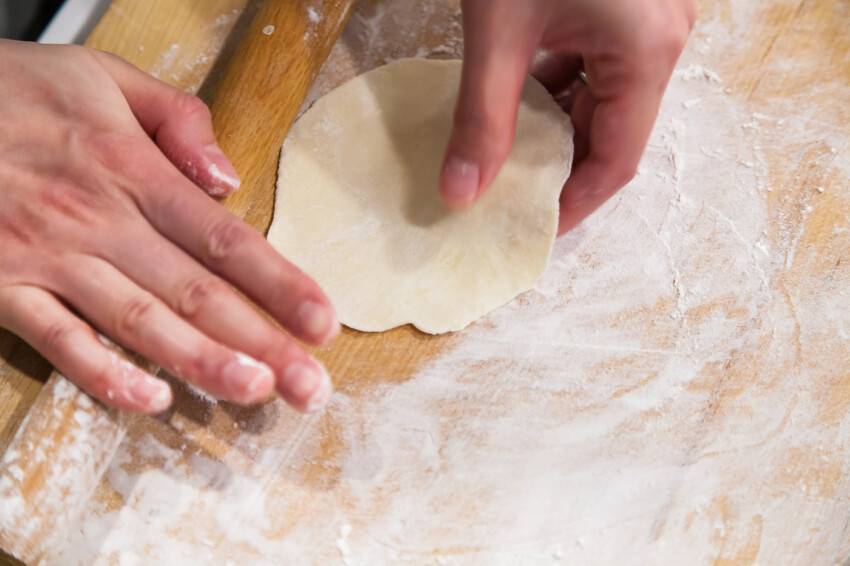
- Use the same procedure for the other half log. Use the dumpling wrappers to fold dumplings!

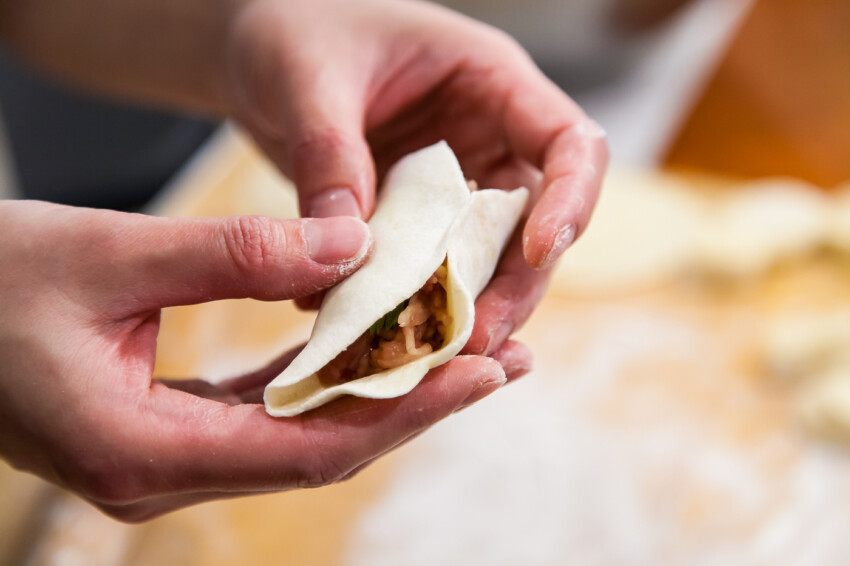
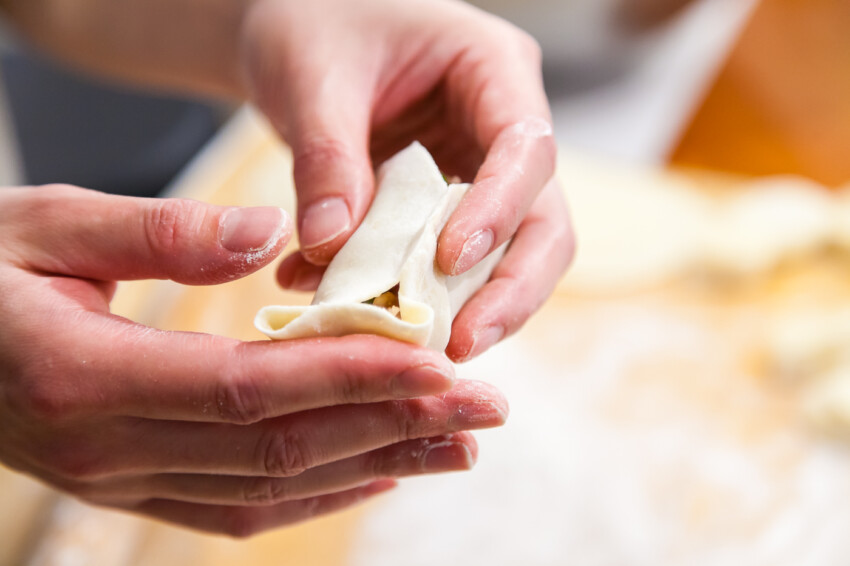
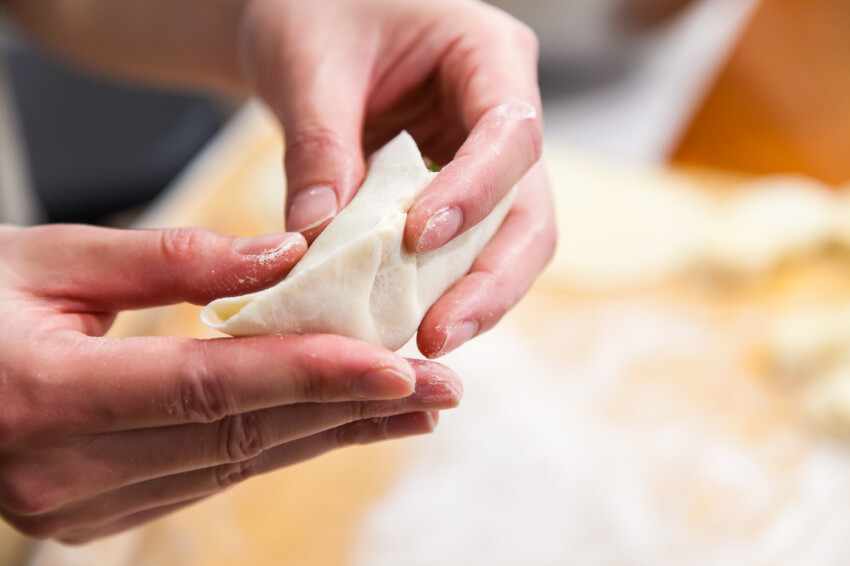
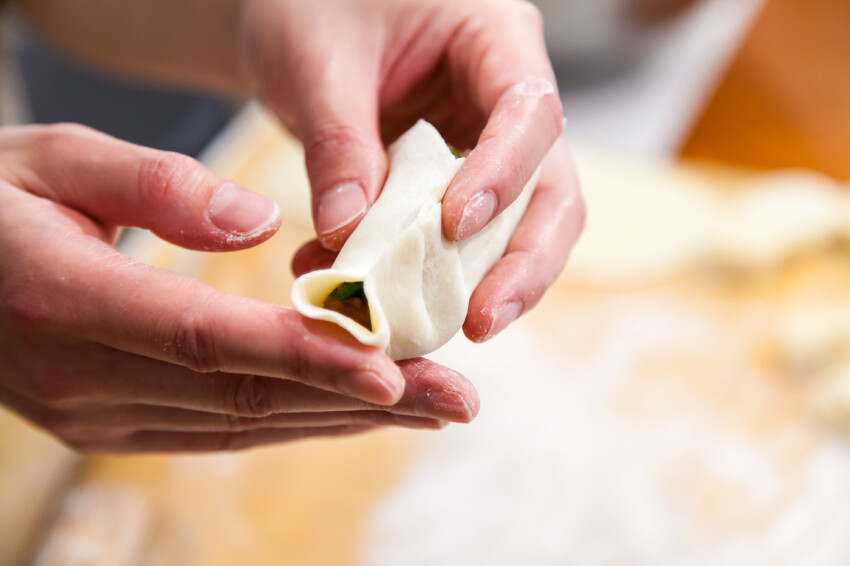
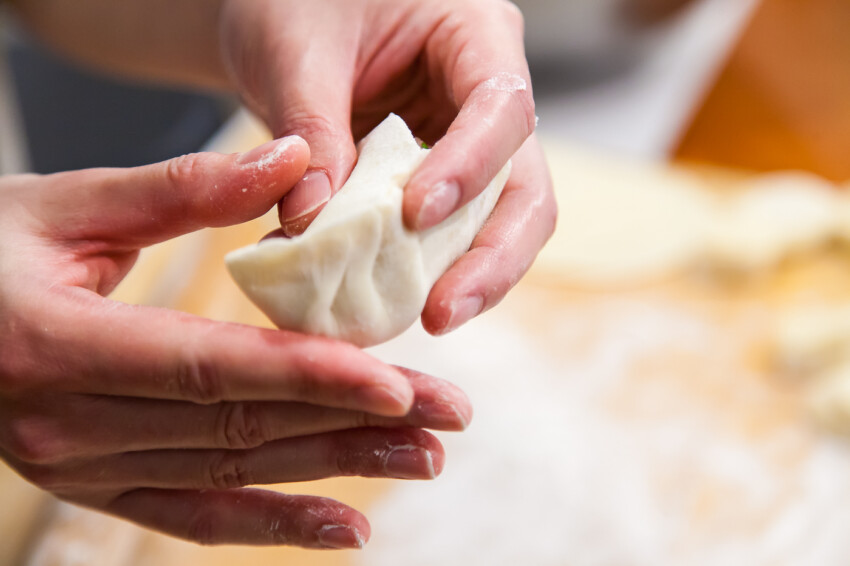
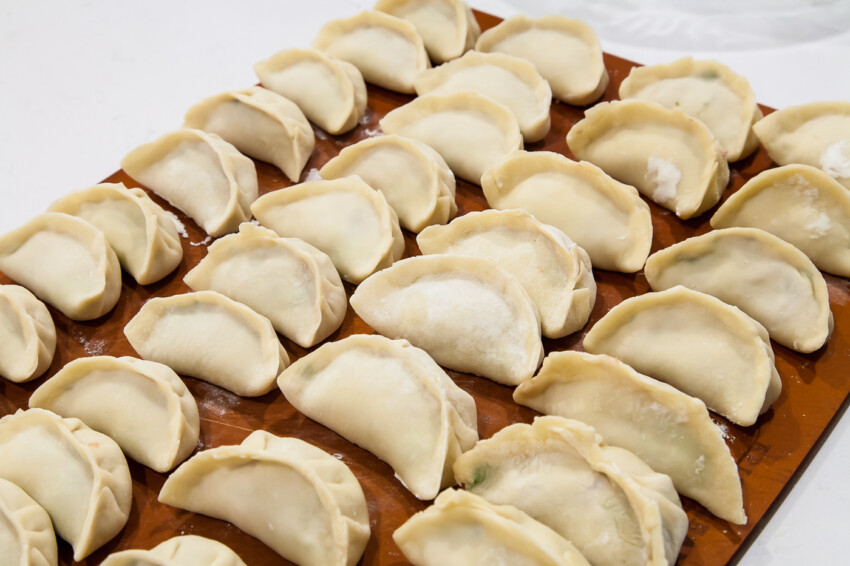
Bon Appétit
Notes:
- Higher room temperature (above 75°F or 24°C) requires less time for resting the dough. So if your room temperature is in that range, check the dough after 30 minutes. If you can press your index finger into the dough without resistance, your dough is ready. With a cooler room temperature (below 68° F or 20°C), you might find your dough needing close to 1.5 to 2 hours to be ready.
- For people who are left handed, hold the medallion with your right hand and rotate clockwise and roll with your left hand.
As an Amazon Associate I earn from qualifying purchases.


